Casting
For the amateur metalworker, casting somehow is taking things to the next level…new skills and knowledge, new equipment and dangerous new processes at high temperatures challenge the amateur. There is something very base about tackling this most ancient and fundamental aspect of metal workign
Introduction
There are lots of ways to cast metal serving various purposes. My application is fairly specific around lost wax casting using 3D printed items as the wax master.
This in my opinion is an incredibly exciting new development that opens up fantastic possibilities.
The incredible detail and accuracy possible with lost wax casting is legendary however time, talent and skill was required to create the wax patterns. Now, with 3D printing. Wax patterns can be downright easy to create.
Another compelling aspect of lost wax casting is the freedoms created from traditional cope and drage two-part sand or in industry metal molds. Firstly, no draft draft angles are required as no pardon need be pulled from a mould. Secondly, all kinds of features such as through walls and indentations are effortlessly done via last wax. Such features would require cause another complexities using a split or parted mold.


Lost Wax Basics
I will keep this brief, as numerous resources exist that well explain lost wax casting.
A wax master is made replicating the item you wish to cast. The master is placed in a steel flask with a sprew leading from the master to the outside of the flask. A kind of soupy plaster like material, “investment”, is poured around the master filling the flask
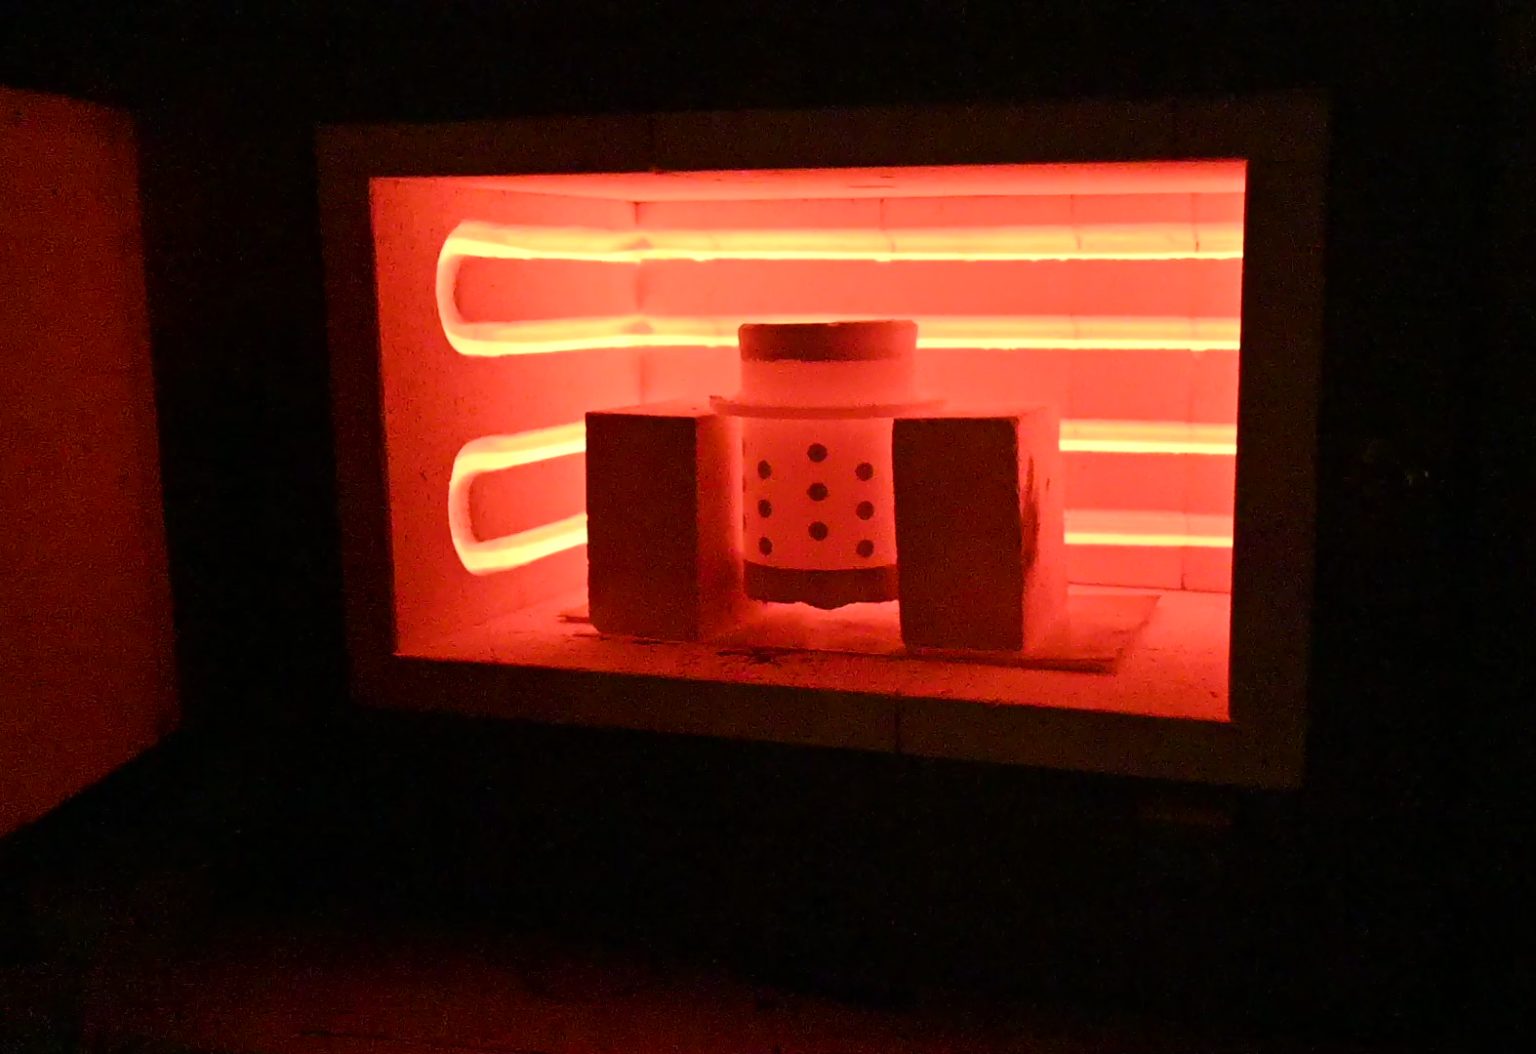
The investment dries, then in an open the wax is burned out leaving a cavity in the investment that perfectly replicates the master.
With the flask and investment held at a high temperature, molten metal is poured into the cavity and when it cools you have your casting
3D Printing
3D printing is a marvel of technology that allows us to create objects by adding material (and is referred to sometimes as additive manufacturing). I first saw this in industry in the 90s being used for prototype applications. While very interesting, the price was such that it only had passing interest; little chance it would ever matter to me.
Of course I was wrong and the inexorable march of business and maturing of technology eventually pushed these amazing devices well into affordability range for the household. While many, fascinated enough with the technology to purchase a printer, seem content with to printing pencil stands, orcs orcs and dragons home shop machining and model engineering carries almost unlimited possibilities when you bring molten metal into the fold.
A key factor in all of this is that there are now 3D printing materials that are designed for lost wax casting. Mostly what that means is that they will burn out the investment leaving no ash residue.


Types of 3D printers
The two main types of 3D printing are filament and resin-based printers.
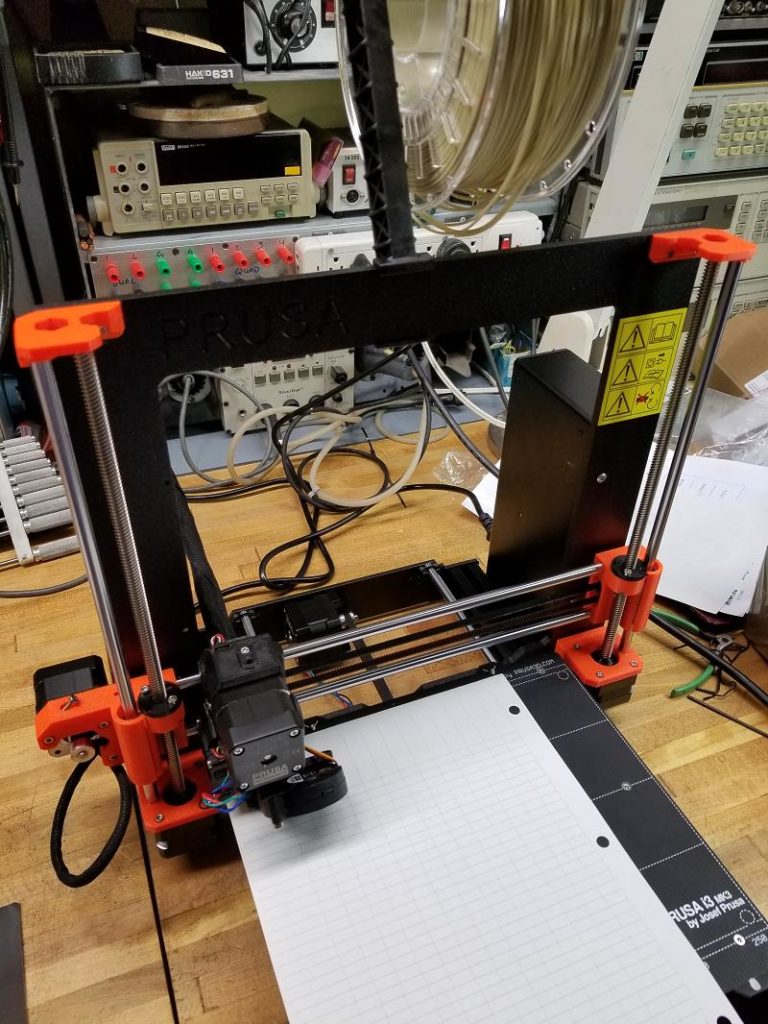
Filament printers start with a school of plastic and extruded through a nozzle well underneath the nozzle a CNC table moves about.
Resin printers start with a liquid resin in a tank. The bottom of the tank is transparent. There is a UV light source underneath the bottom of the tank and the resin hardens when exposed to UV light. There needs to be a way to control where on the bottom of the tank light reaches. Depending on the technology, this is done via a LCD screen that acts as a mask or the light sources are laser that can be directed via mirror.
Whichever technique is used, a layer is printed and the printed layer (initially attached to what is called a bed plate) moves up a little bit, allows more resin to flow in, and then prints another layer.
Difference between 3D printing machines
In the same way that not just one machine to a will do (or for that matter even one lathe), the relative merits of filament and resin printers means there is room for both in the home shop.
As far as fine casting goes, I think the resin printers have much more potential, however I have done castings with both.
Filament printers main advantage is quite large objects can be created, i.e. the work envelope is large, and the disadvantage is the resolution. Even on the finest settings, the strata of each print layer is quite visible and well come through crystal clear in the lost wax casting.
Resin printers typically have smaller work envelopes (especially for the affordable ones) but are capable of very high resolutions.


Resin Print Resolution
At the time of writing (spring 2022) an SLA 4K resin printer is about $300 Canadian.
SLA refers to stereolithography meaning there is a LCD panel between the tank bottom and the light source. The LCD matrix becomes a mask only permitting light to reach the resin where we want the resident to harden.
4K refers to the resolution of matrix. Its not entirely scientific, with the 4K typically referring to a matrix that is 3840 x 2040 or so. The 4K refers to the 3840 being close to 4000.
The actual resolution you end up with is not just a function of the matrix size but also the matrix distance. For example, 700 pixels over an inch is much higher resolution than 700 pixels over 3 inches.
With one particular lineup of printer, they have an 8K version in both a “mini”and a “mega”. The mini has twice the resolution as the mega despite both being 8K. While offering lower resolution, the mega is considerably more expensive
as I am not casting large parts, I went for 4K machine with a small work envelope that results in a high resolution. At this time, AK printers were just coming into the market and seemed still a bit bleeding edge (high-priced versus leading-edge)
Filament Printing
The Filament Printer
Lorem ipsum dolor sit amet, consectetur adipiscing elit. Ut elit tellus, luctus nec ullamcorper mattis, pulvinar dapibus leo.
Challenges of Printing in Wax
text

The Enclosure
Lorem ipsum dolor sit amet, consectetur adipiscing elit. Ut elit tellus, luctus nec ullamcorper mattis, pulvinar dapibus leo.
SLA Resin Printing
The Printer
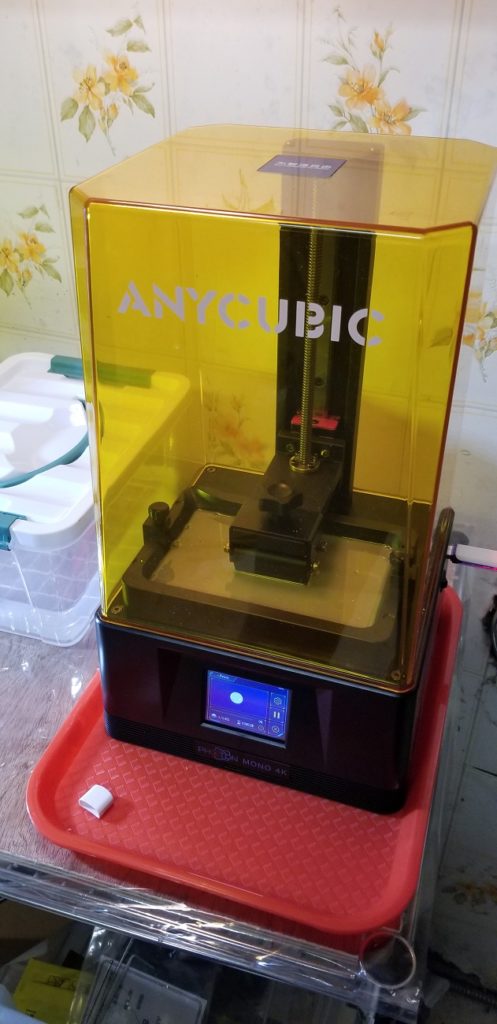
I purchase an Anycubic 4k mini. Not real complaints, is performed reasonable well.
Software
Software
Software
The software that comes free with the printer is fairly lousy. There are some commercial software alternatives, however as I see software by subscription as an unsavoury cash grab, I a found a work around.
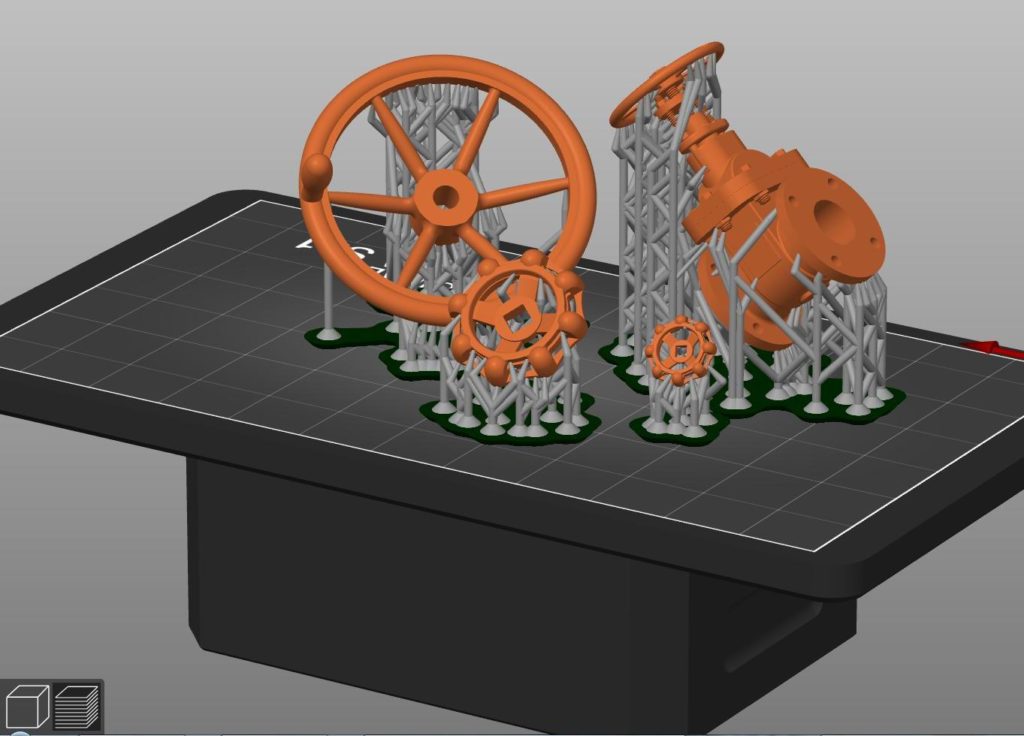
The Prusa slicing software that I use for my Prusa filament printer is quite good. This is the same software presser uses for their resin printers. However its not quite as simple as using the Prusa slicer, as the AC printer needs a file with some propriety bits in it.
The solution is do all the positioning and support (as shown in photo) in the easier to use Prusa software, then save file as an “STL with Supports” format. This is can then be open in the AC software and sliced and output to the printer (what this accomplishes is that the supports and position done in much easier to use Prusa program)
Pre-Print Process
With paper towels (PT)and alcohol on hand, here is what I do
- Set a plastic tray in front of the printer
- Turn on the vent van, high
- Done nitrile gloves.
- Remove the printer cover (I always keep it in, keeps dust etc out) and pour the resin in the vat
- with a PT, wipe the threads of the resin bottle clean (if necessary) and put bottle away
- Install printer cover (there is an interlock to prevent UV ray exposure)
- if nothing needs cleaning, hit print.


Post Print Process
Lots of work to do after the print, and because it is dealing with uncured resin, its where there is the greatest risk of mess and exposure to resin
- Put on Nitrile gloves (no latex! it won’t protect)
- Removing the printer cover
- take the cover of the alcohol wash bin
- undo the build place, careful to not touch the resin (you are protected by the gloves, but if you get it on the gloves, the mess spreads)
- Place the build plate with the prnted item in the wash bin.
- With a cheapo pain brush, wash away (gentley) loose resin.
- The print is not cured, and is not very hard, so be gentle.
- Then, pull the lid on the rinse tank
- Transfer the build plate with print to the rinse tank.
- Place and lock the lid on the wash tank
- Again with

Heading
Lorem ipsum dolor sit amet, consectetur adipiscing elit. Ut elit tellus, luctus nec ullamcorper mattis, pulvinar dapibus leo.
headinbg
text

Making the Investment Flask
headinbg
text


Heading
Lorem ipsum dolor sit amet, consectetur adipiscing elit. Ut elit tellus, luctus nec ullamcorper mattis, pulvinar dapibus leo.
The Burnout
headinbg
text


Heading
Lorem ipsum dolor sit amet, consectetur adipiscing elit. Ut elit tellus, luctus nec ullamcorper mattis, pulvinar dapibus leo.
The Pour
headinbg
text

The Enclosure

Heading
Lorem ipsum dolor sit amet, consectetur adipiscing elit. Ut elit tellus, luctus nec ullamcorper mattis, pulvinar dapibus leo.
3D Printing

3D Printing
