Installing Lathe Spindle Bearings - Tapered Bore Roller Bearings
Here’s one of those times when collecting all the that super precision stuff really pays off.
The micron fit of precision taper mount rollers bearings depends on driving a tapered inner race up on a taper section of the spindle shaft just right amount to create preload (think of it like negative clearance) in the bearing.
You are expanding the sold piece of metal that is the inner race ever so slightly, so very careful measurement of all the variables is required.
I did not find anything on the web that described in detail the process so thought I’d do so
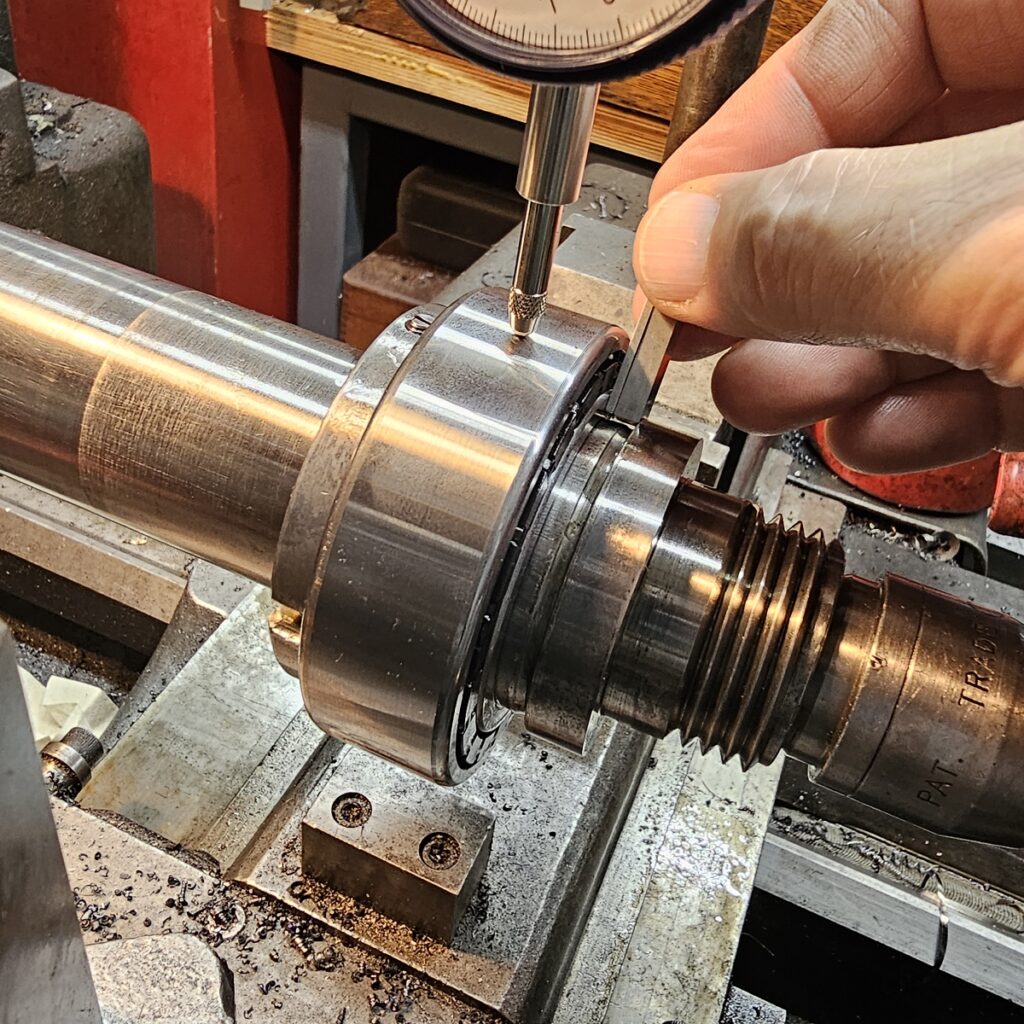
This bearing replacement is for a Schaublin 102 backgear lathe headstock. Schaublin holds a special place among many of us pursing the craft. If any lathe is worthy of doing it properly, a Schaublin is!
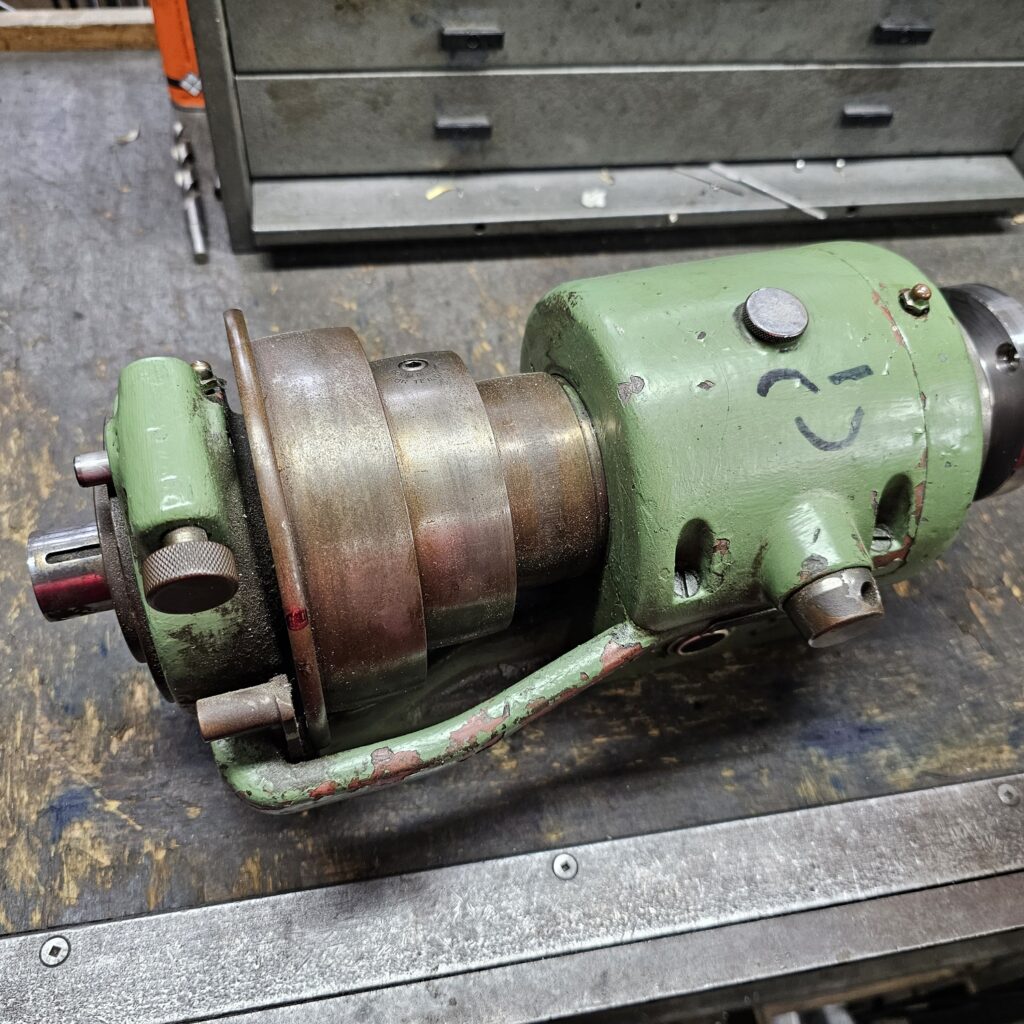
Always gunsmiths screwdrivers on the classic machine slot head screws. Take lots of detailed photos along the way so there is no doubt how things go back together
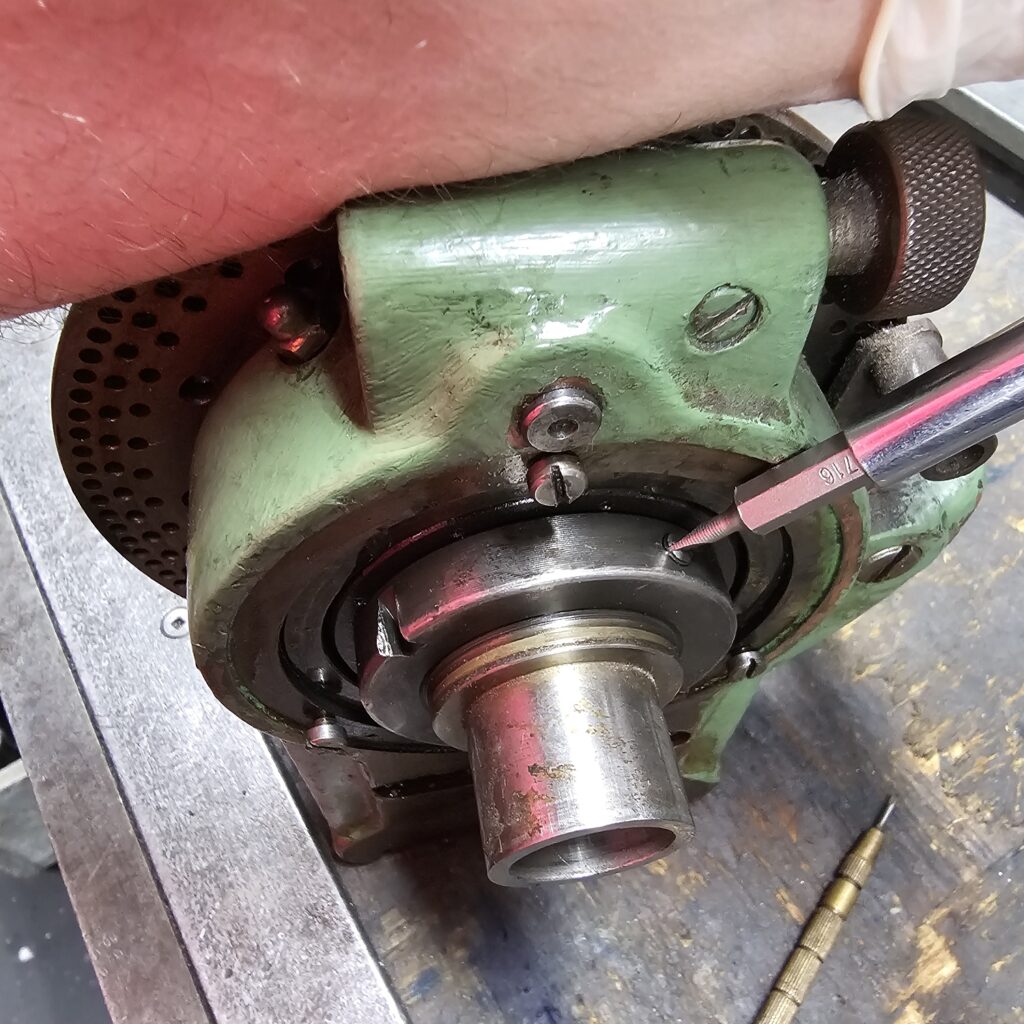
The spindle comes out. Note the spanners . make or buy spanners that fit the nuts; don’t be a hack!
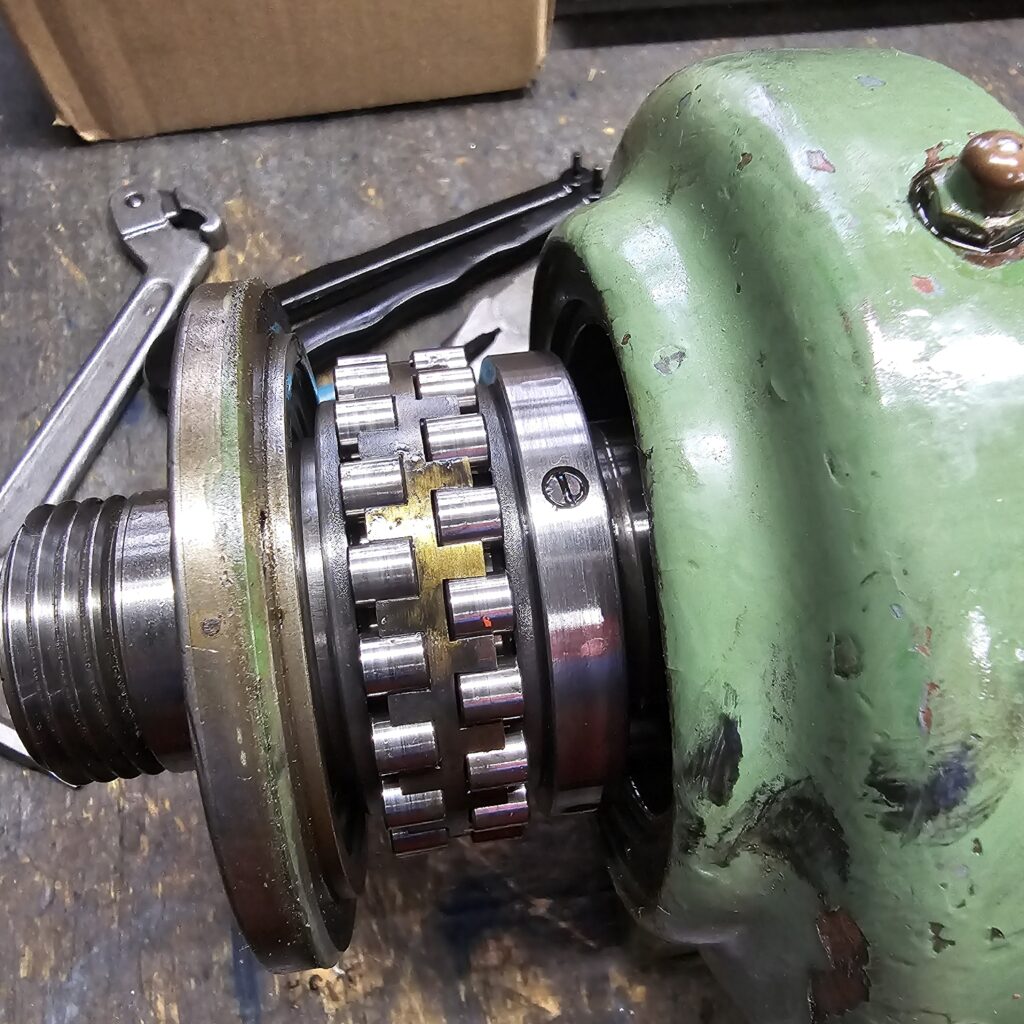
The two speed gearbox.
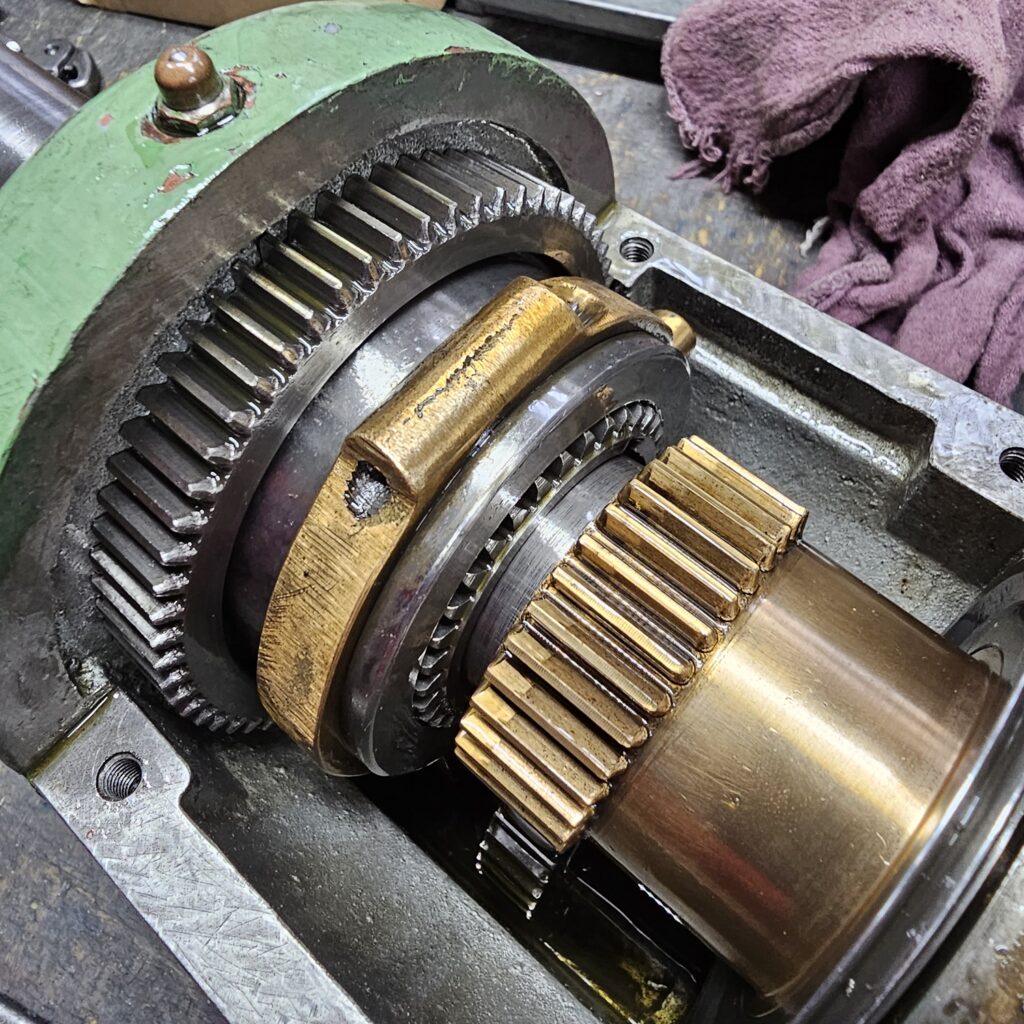
The inner race stays in the HS, but is easily removed by tapping (the on the shoulder kind of tap, not the threading type) it out from the other side via three small holes.
Sans these holes, you can get them out by running a small tig bead on he inside surface. It will shrink the bearing and it will drop out.
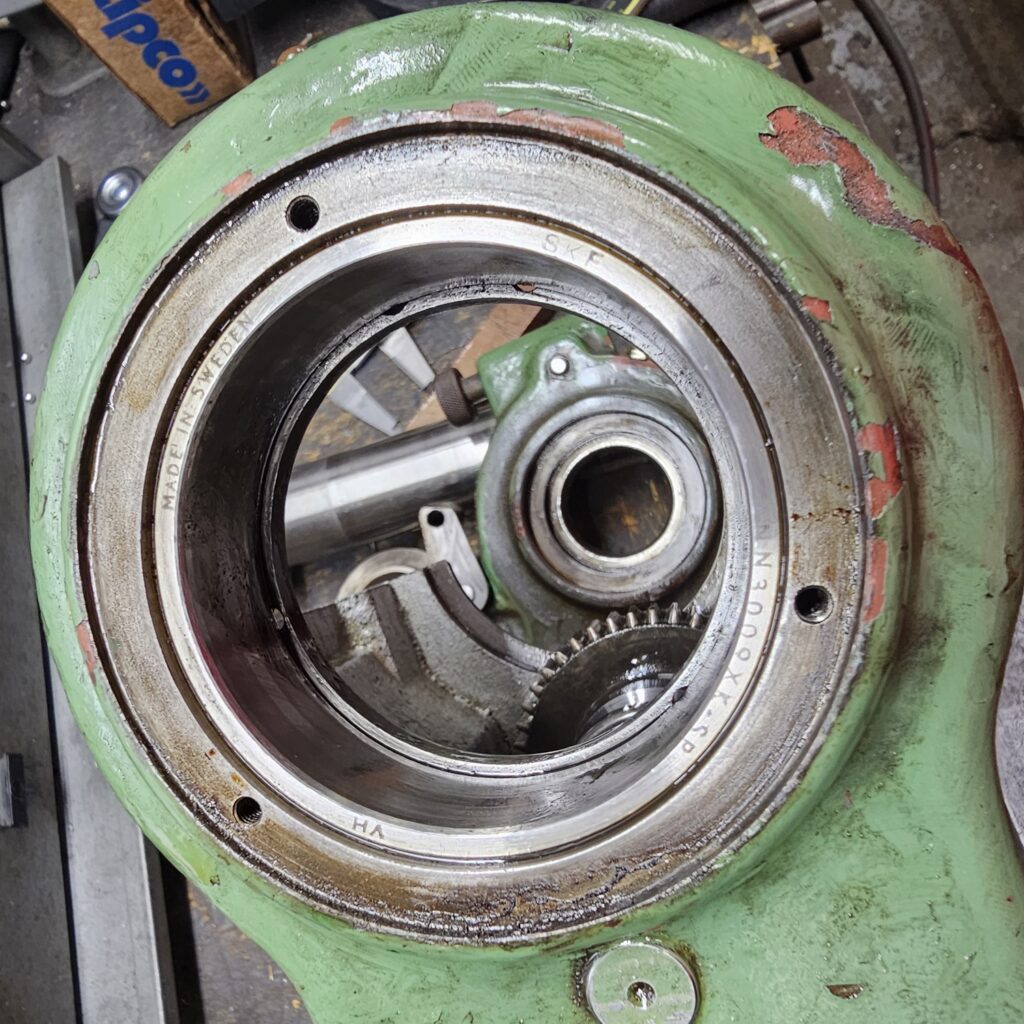
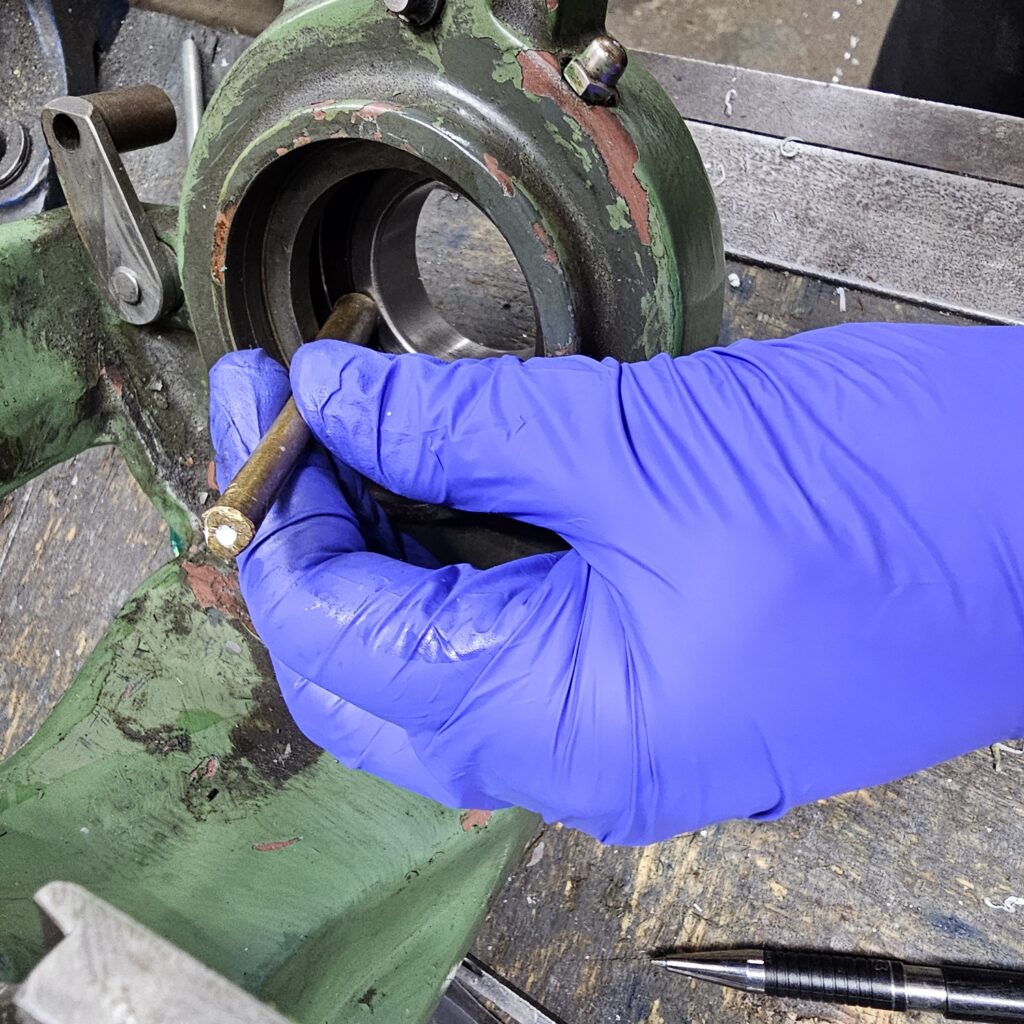
using a cap head screw, just because it is the right size, to tap the bearing out. Keep walking around in a circle using small, gentle taps. This patient work, if too aggressive you risk deforming or marring the bore
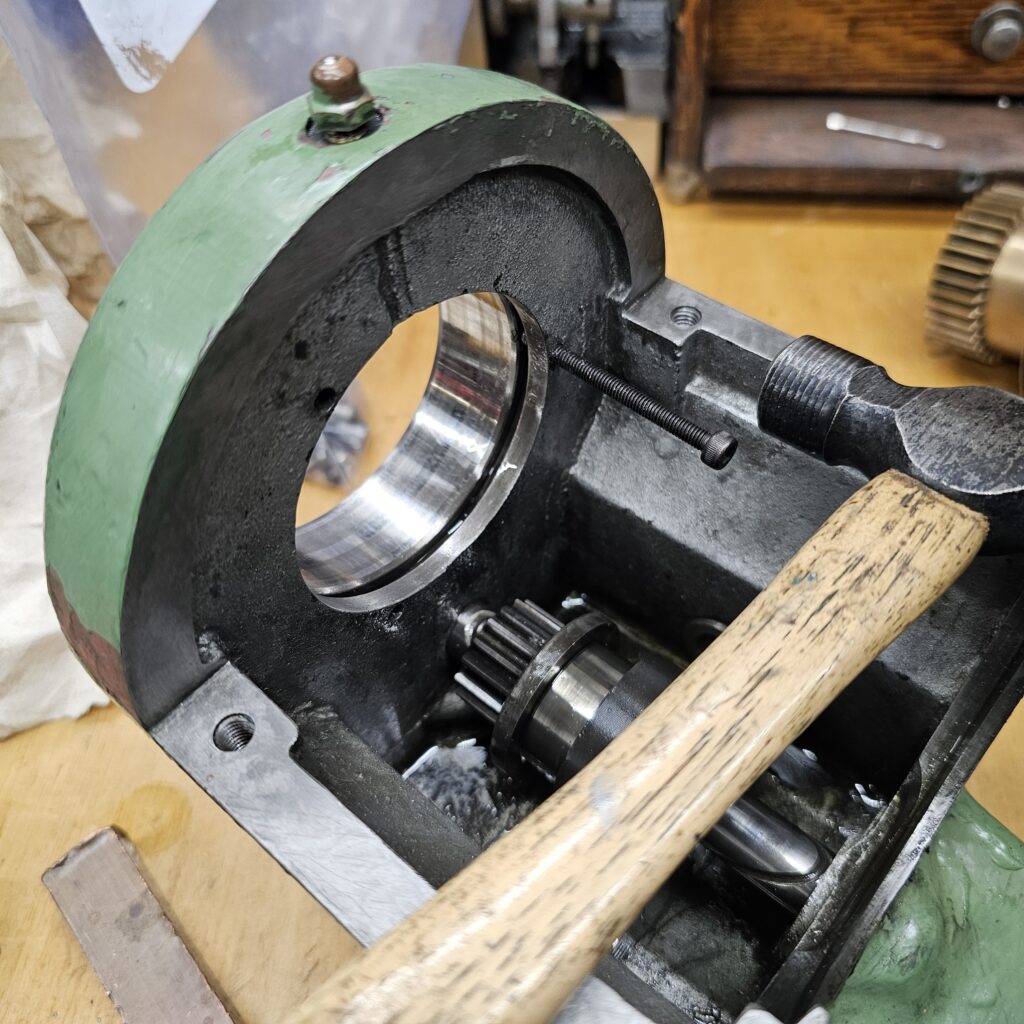
Keep going around in a circle lightly tapping away. Make sure you do not score they bore where the race goes! If you do, any burr must be removed or it will alter the geometry of the bearing fit
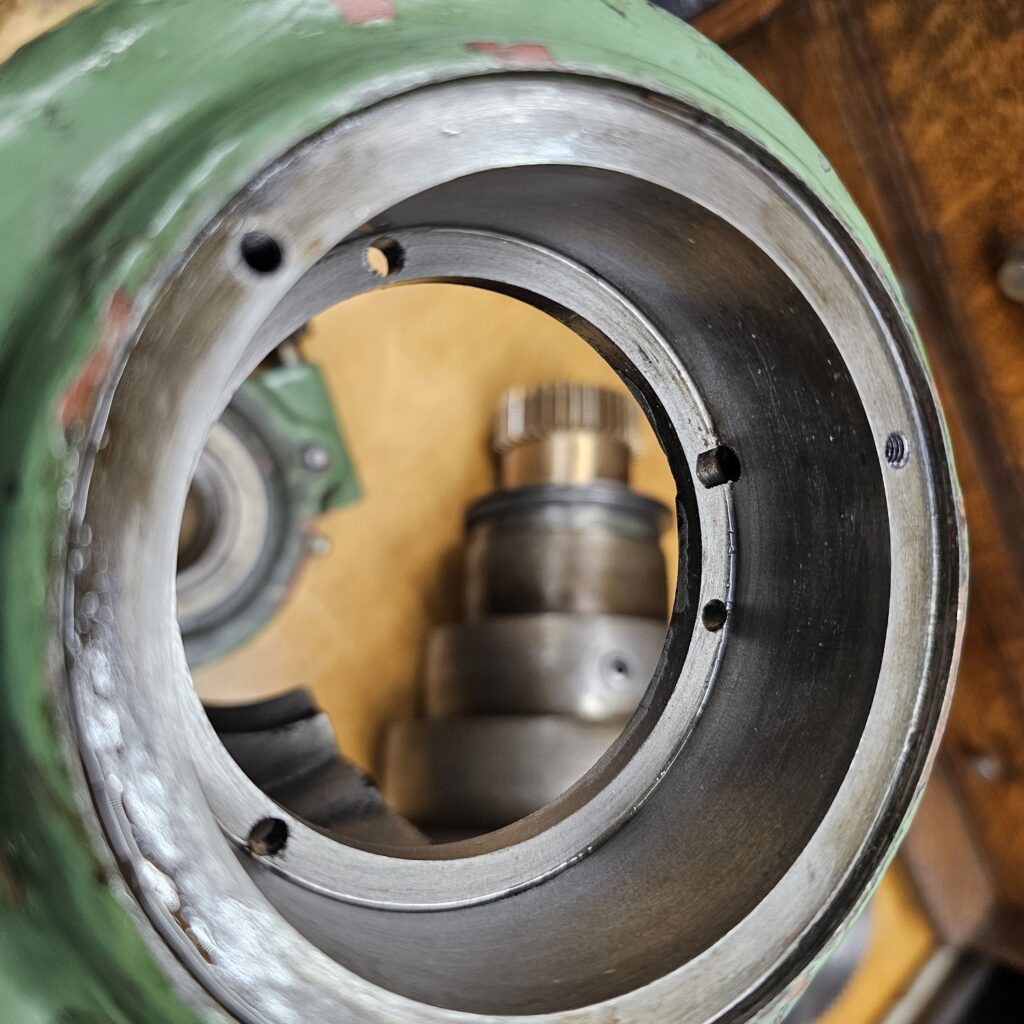
There is an angular contact bearing on the outboard end that is also tapped out by lightly taping an moving around the bearing. They come out easily this way if you just to small taps for small movements of the bearing.
There is no way to tap this out on the outer race so removal like this should only be done if the intent is to scrap the bearing
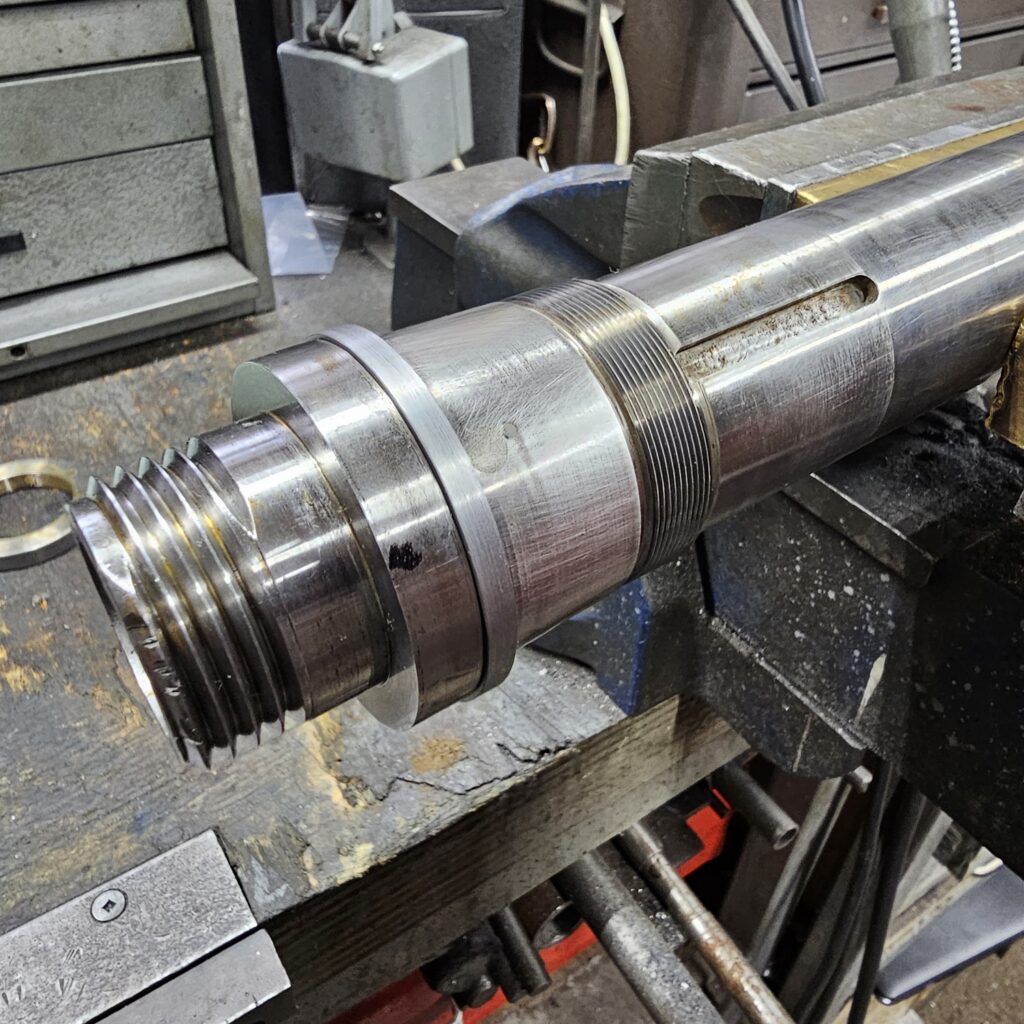
The spindle shaft has one half of a labyrinth seal set pressed on to it. The mating part of the seal is loose but captured between the bearing and the pressed on piece
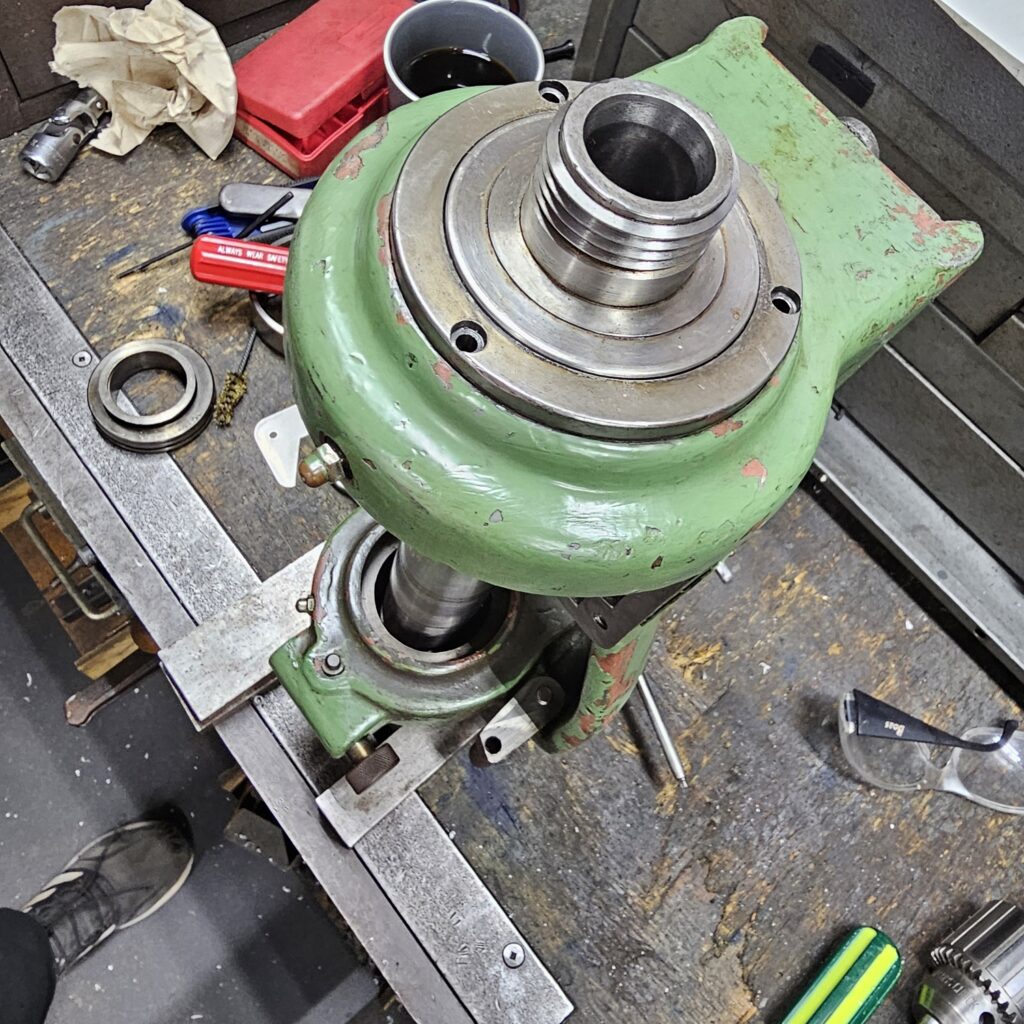
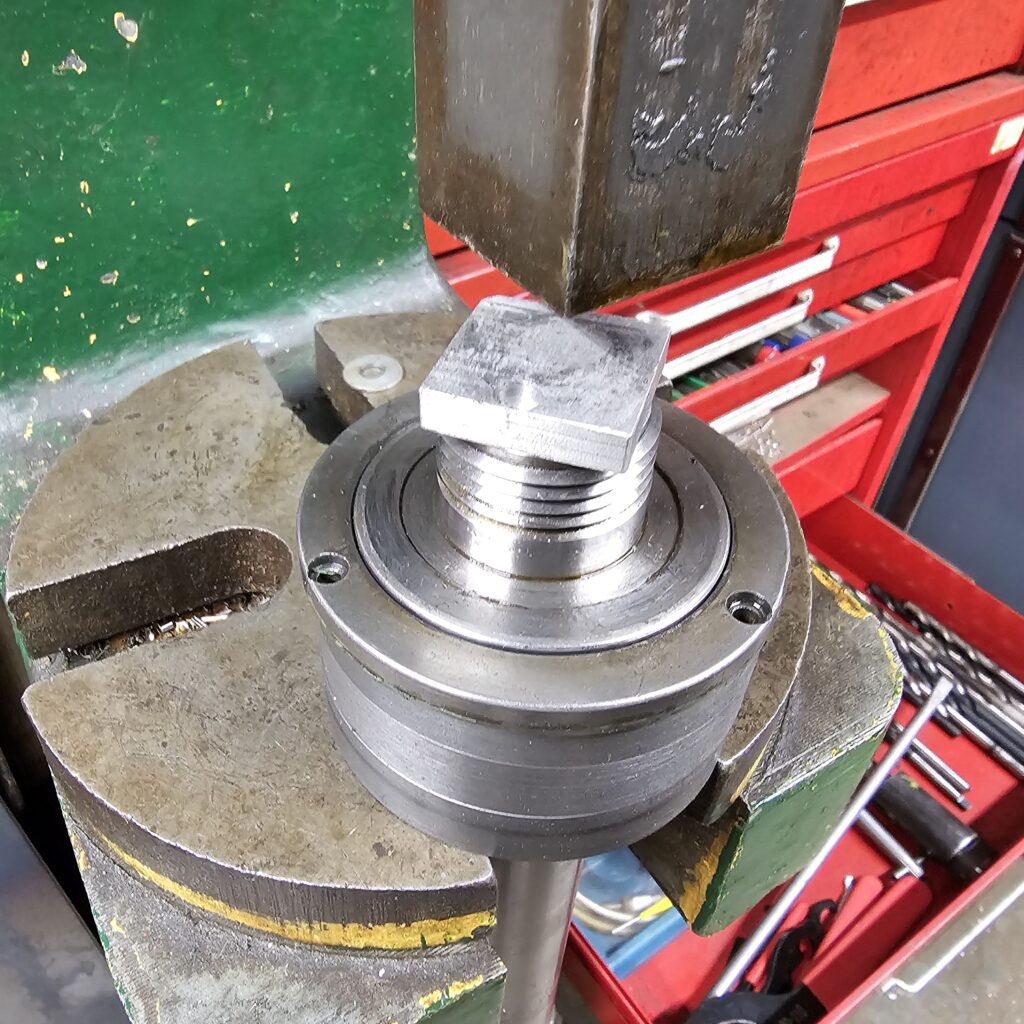
Supporting on the the out part of the seal with a faced piece of steel with the appropriately size hole in it, the shaft is easily pressed out. If you can, generally, its good practice to press instead of hammer to disassemble interference fits.
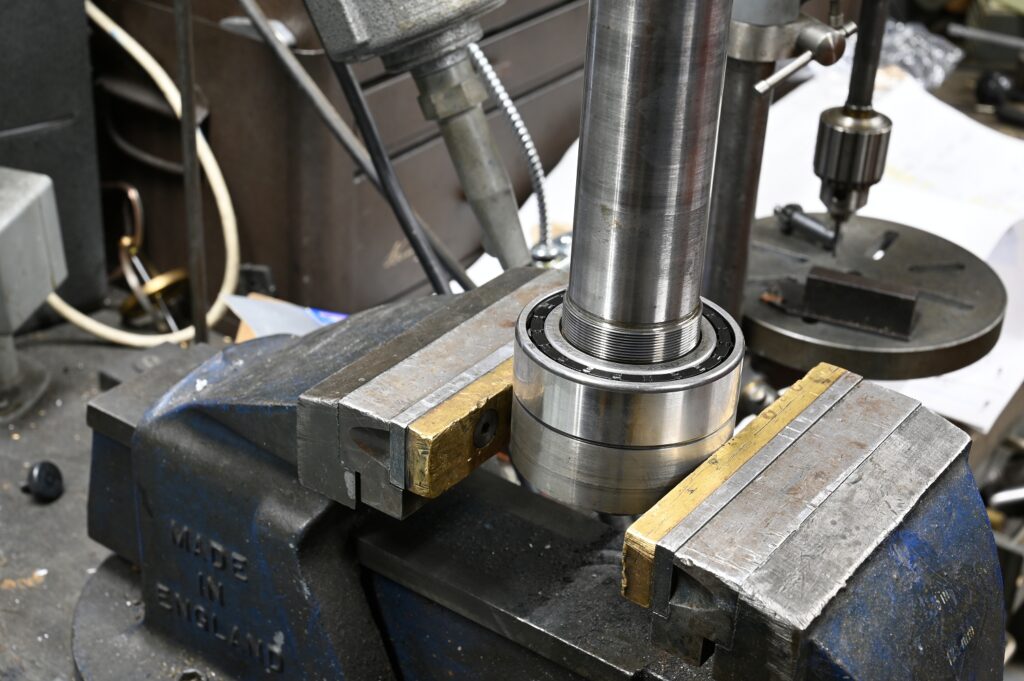
The bearing is pressed on the shaft. Removal is easy and doesn’t take much force. As the bearing is scrap you can punch it off as shown below. The alternative is to set up a block in the vise to support the bearing.
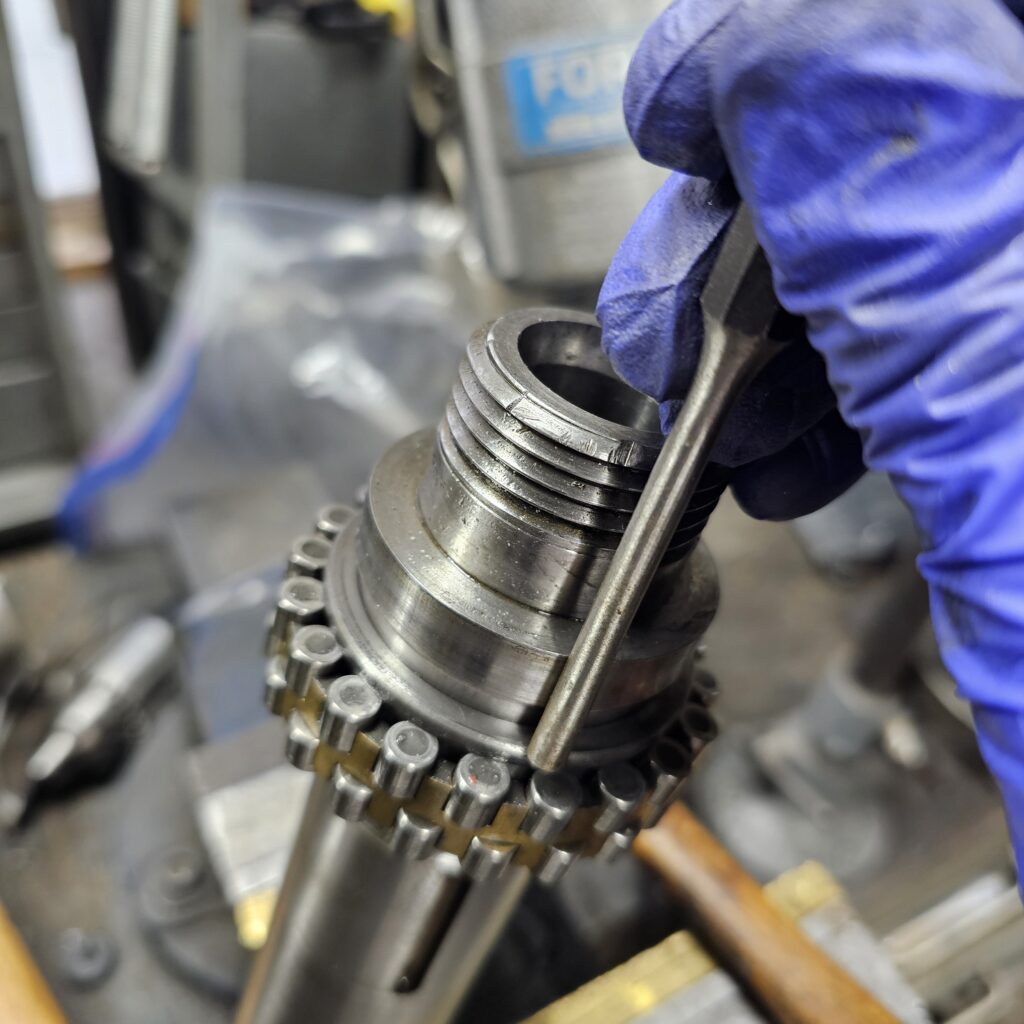
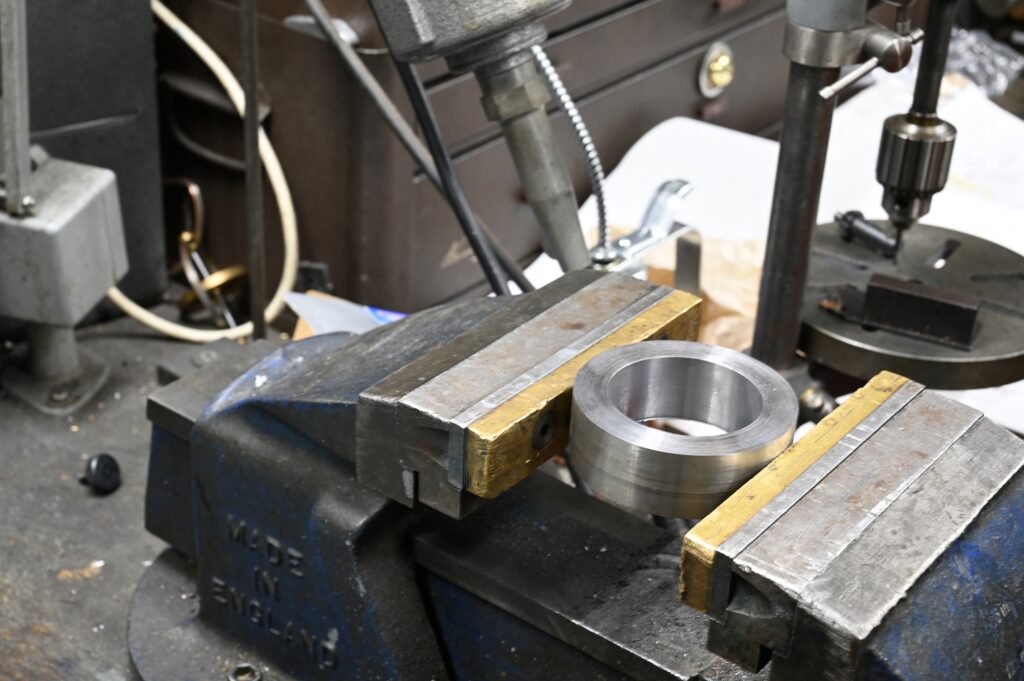
I’ll contradict myself on the avoiding hammers, but I didn’t have the distance in my arbour to press this off ….. so with the bearing supported and piece of AL on the end of the spindle shaft, a medium with a hammer removes the bearing.
The best instruction set I’ve seen comes from NSK. This is page 252 from the NSK Precision Bearing book. Follow it exactly.
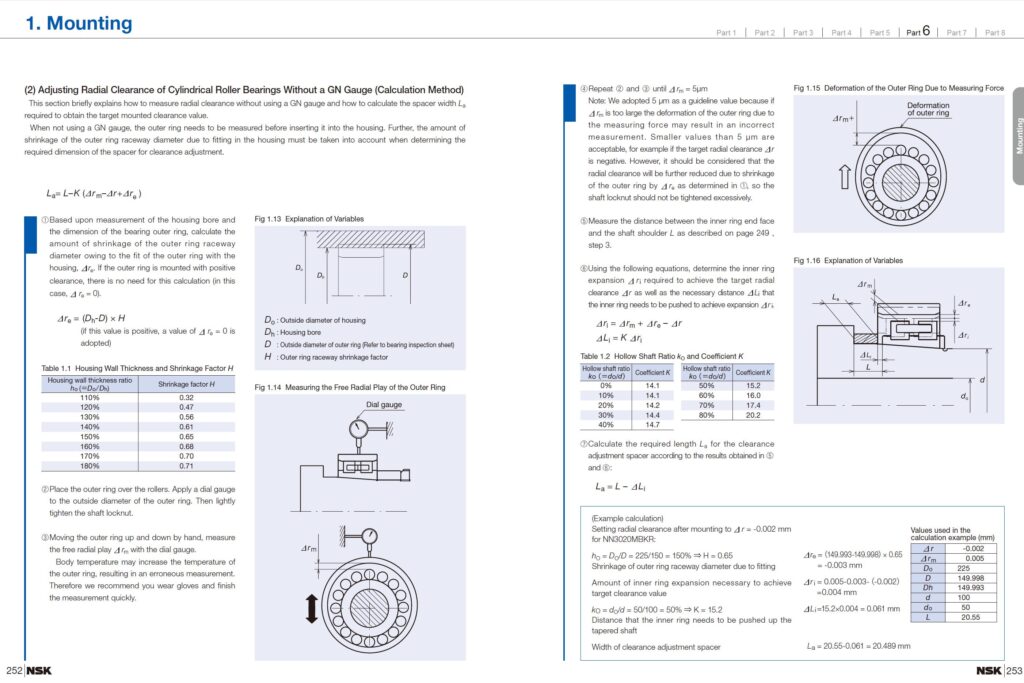
The basic process is that the bearing, having a taper on the ID of it’s inner race, is driven up on the taper of the shaft. This expands the race removing internal clearance between the rollers and the races.
How much it is driven up depends on the shaft size/cross section, actually bearing OD, bore, and housing cross section.
All of this information is plugged into the formulas so you know how far to drive up the bearing
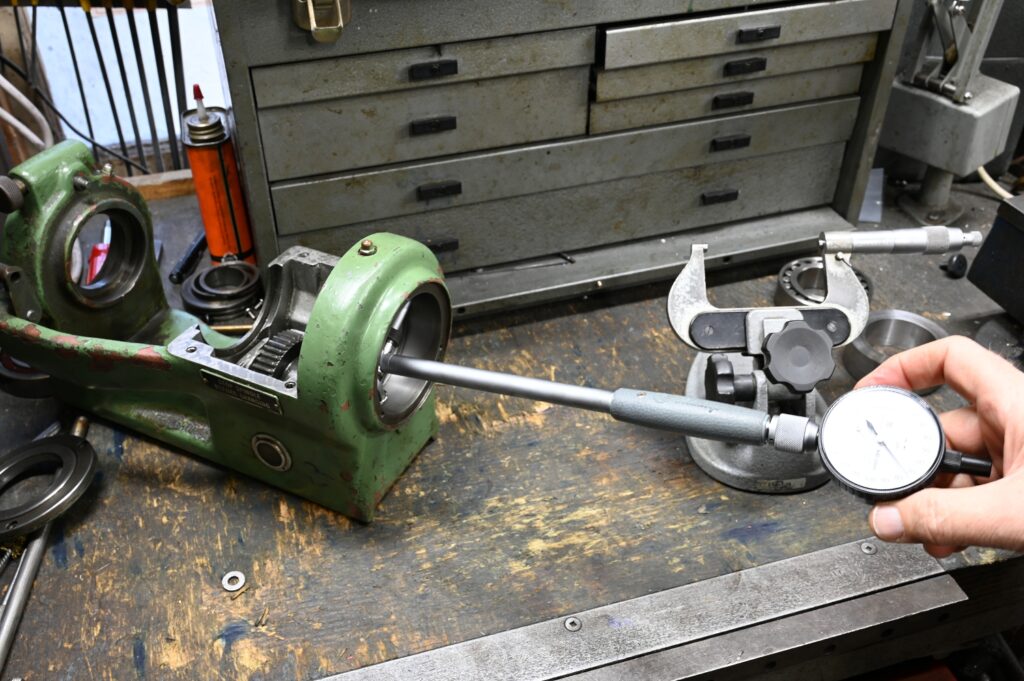
This requires our most accurate work. Clearances/preloads are in microns. For it to work, you have to able to measure to the same.
Regardless of the lathe’s age, the goal is to get factory new performance – after all we spent a small fortune on those factory new quality bearings!
Gauge blocks are used to set a micrometer that is used as a comparator…
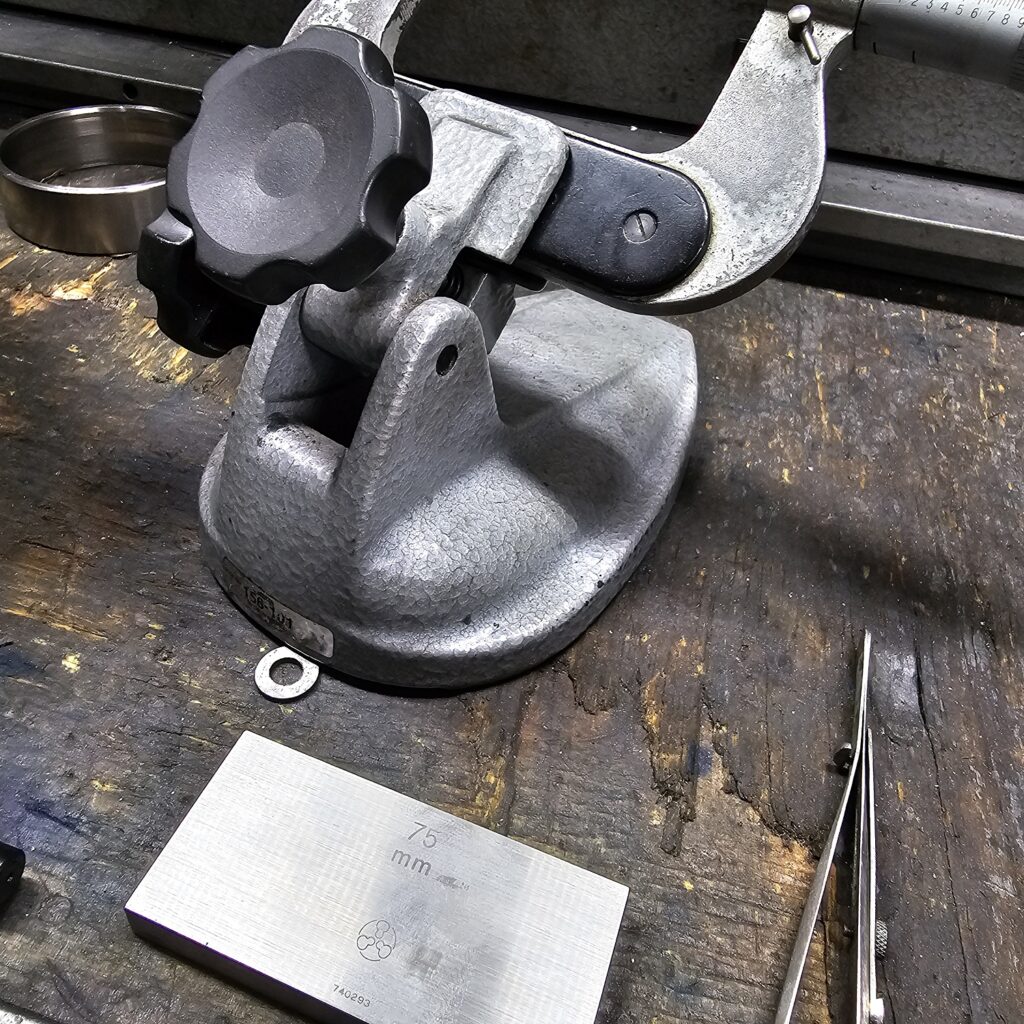
… with one micron dial bore gauge. I used an indicator mic zeroed to a gauge block to measure the outer race OD
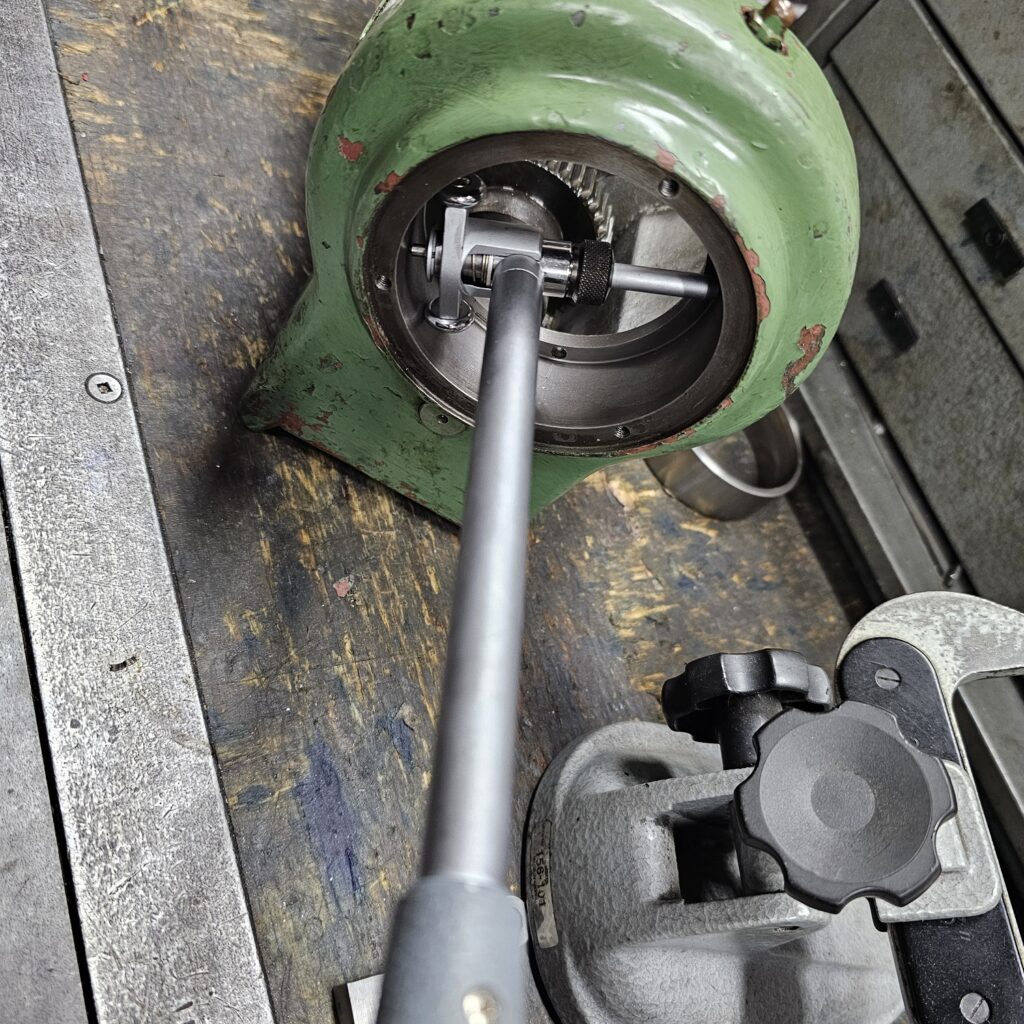
I held the spindle shaft between centres – this is just a convenient way to hold things. No rotation or machining is being done.
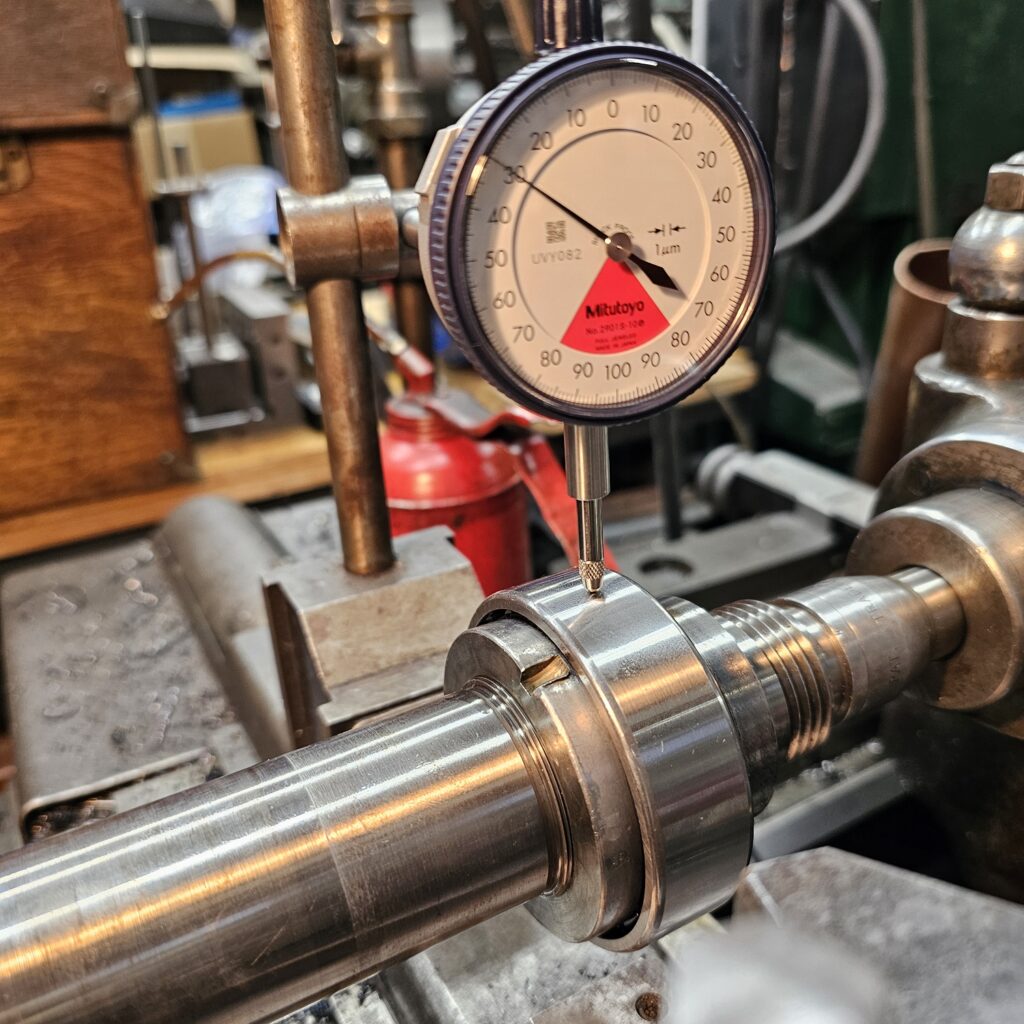
With a one micron indicator, I measured the clearance in the bearing with inner slightly tighten (pushed up the taper) via the spindle shaft nut.
As microns change if you look at them wrong, I repeated this process many times and also let things sit between tries so the temperature was normalized between all components.
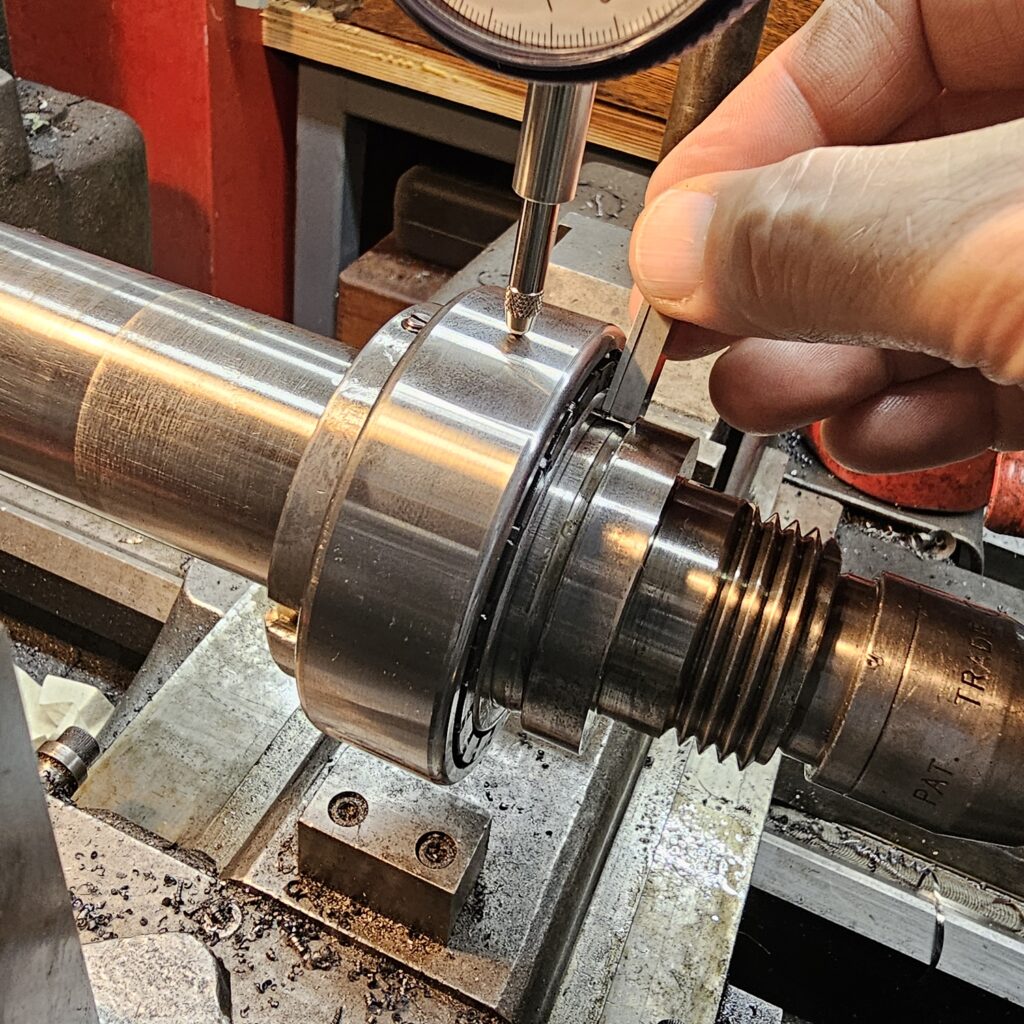
Knowing what the clearance is with the inner race in that position, we now use an adjustable parallel (or feeler gauges) to measure the distance from the inner race to the shoulder.
Do this all the way around and average if you’re not getting the same result.
The calculations will tell you have much further up the taper the race must go to give the exact desired preload.
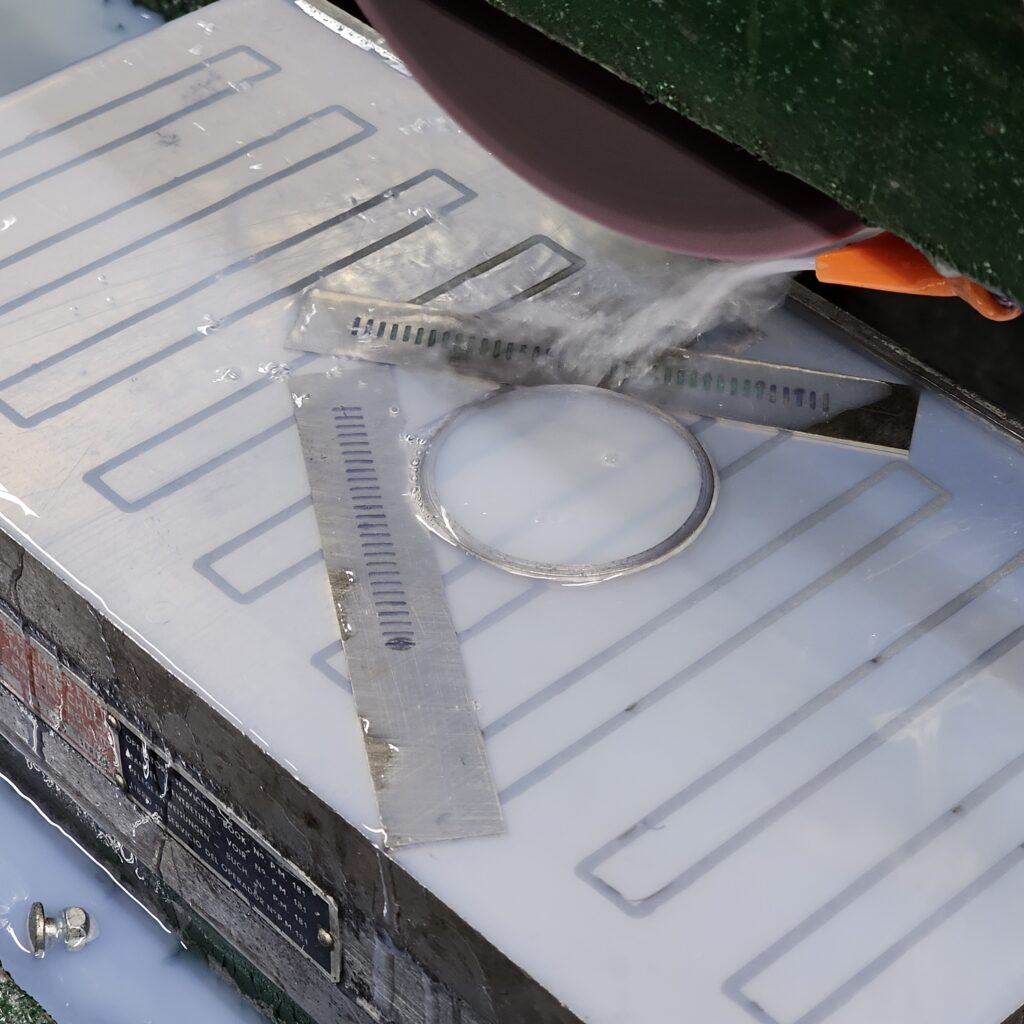
This is achieve by placing an accurately ground spacer ring between the race and the shaft’s shoulder.
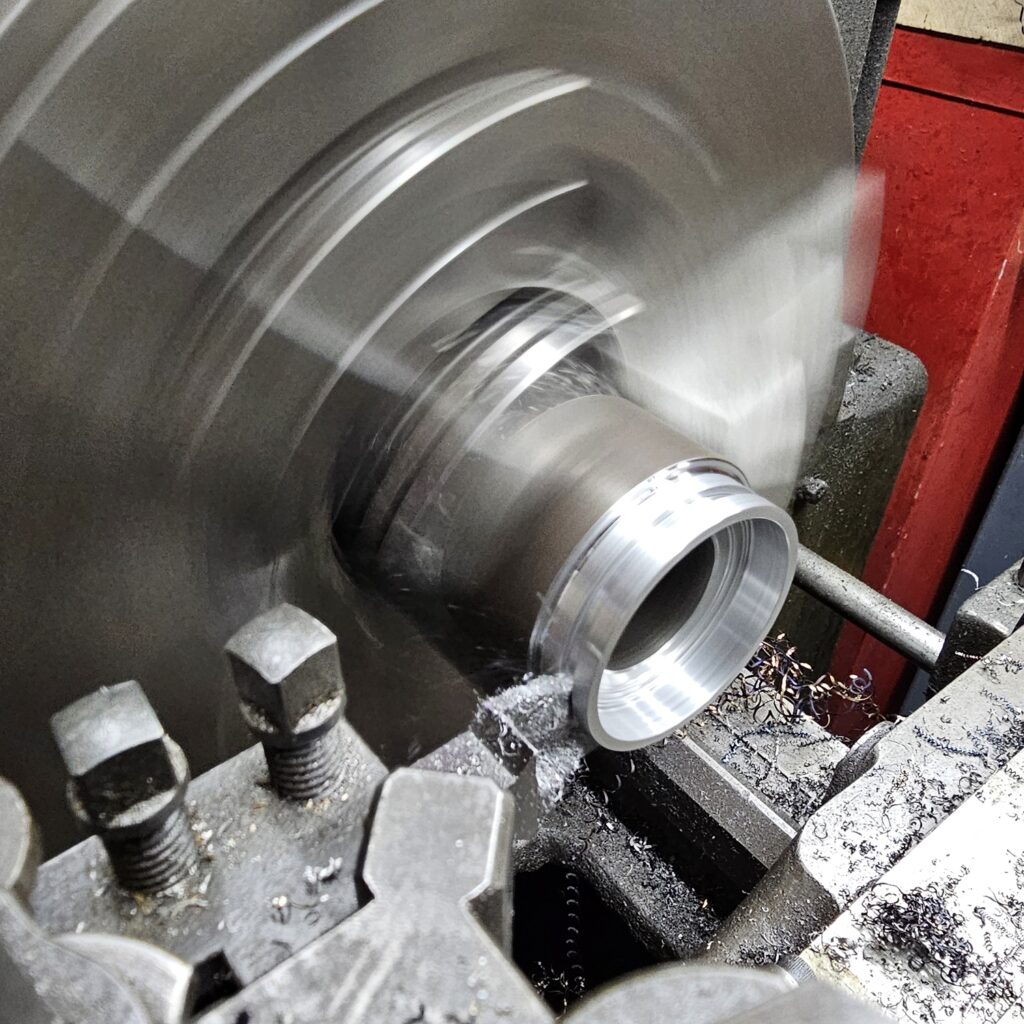
With subsequent fittings I realized the OD should be larger than the should OD else it will foul the labyrinth seal, so it was turned down.
The spacer is a loose fit on the shaft. If you make it tight you may never get it off if you need to
By the way, that spacer is shown as a larger diameter than the should on the spindle. It needed rework and should be a few thou less than the should diameter
Make sure there is clearance (a few thou ) on the ID else you never get it off!
Grinding away
I’m going to use heat to assemble the interference fits. The shaft is too large for my arbour press and heat expansion is good way approach assembly
a disk was faced and bored so that the front of the shoulder and labyrinth seal could rest on it.
With an aluminum plate to distribute heat, I warmed up the inner labyrinth seal to about 200F
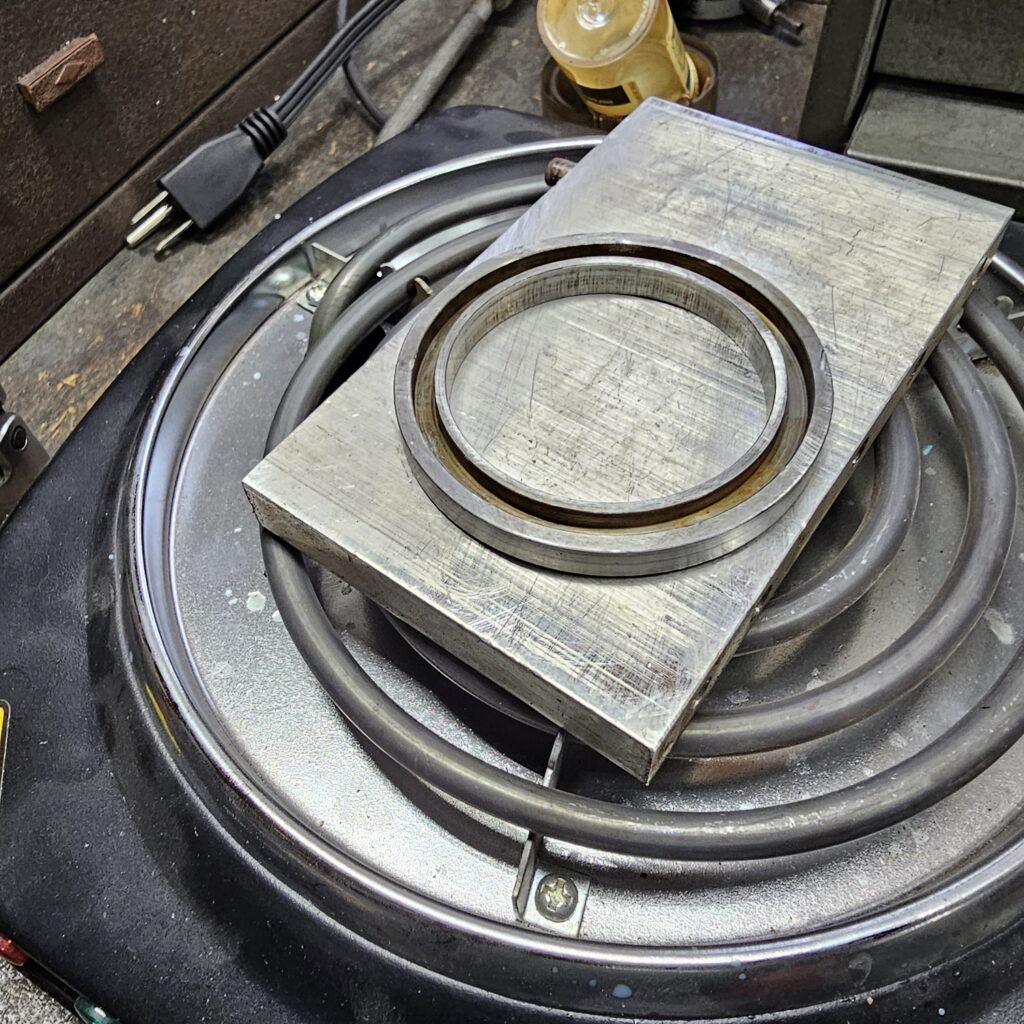
Use whatever works to pick it up, but work quickly. Anything touching it draws heat off …. including the air
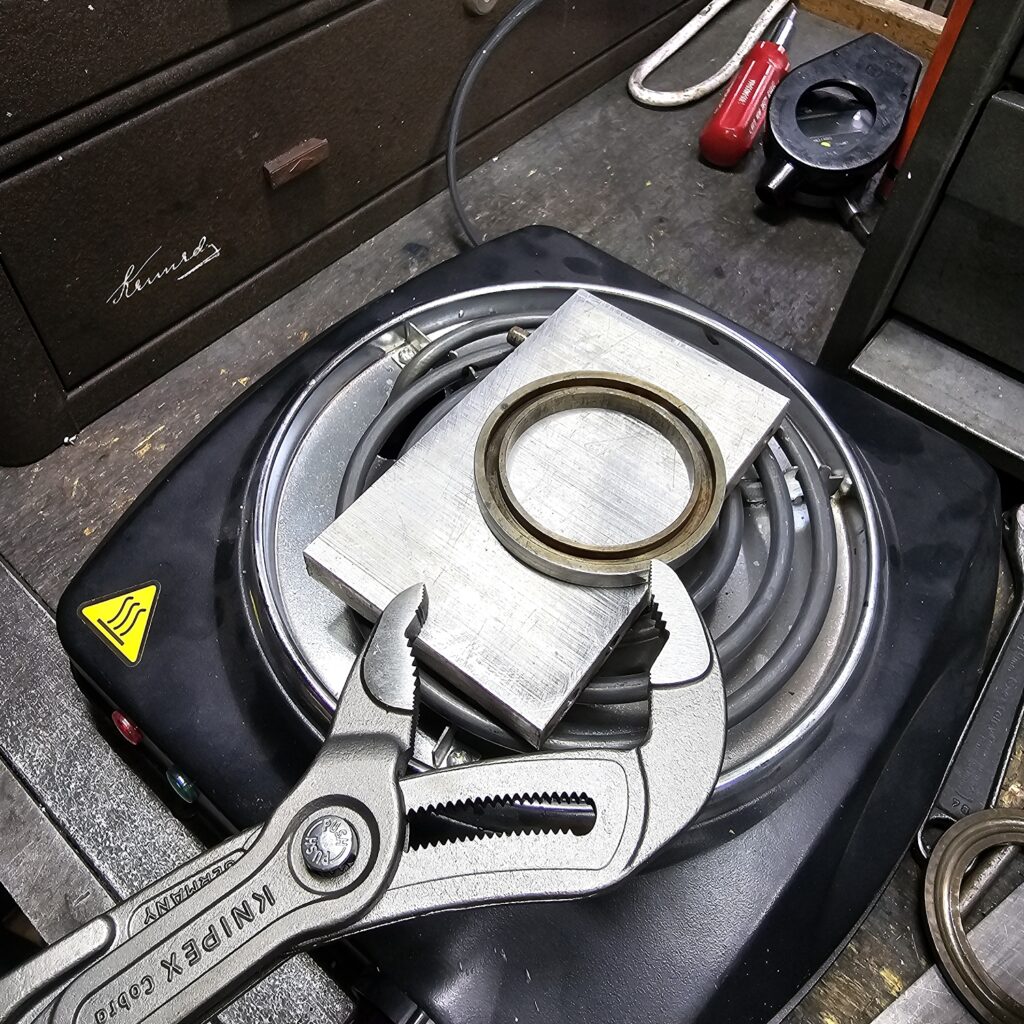
It drops perfectly in place, and the disk keeps it and the spindle shoulder in the same plane as it cools and tightens
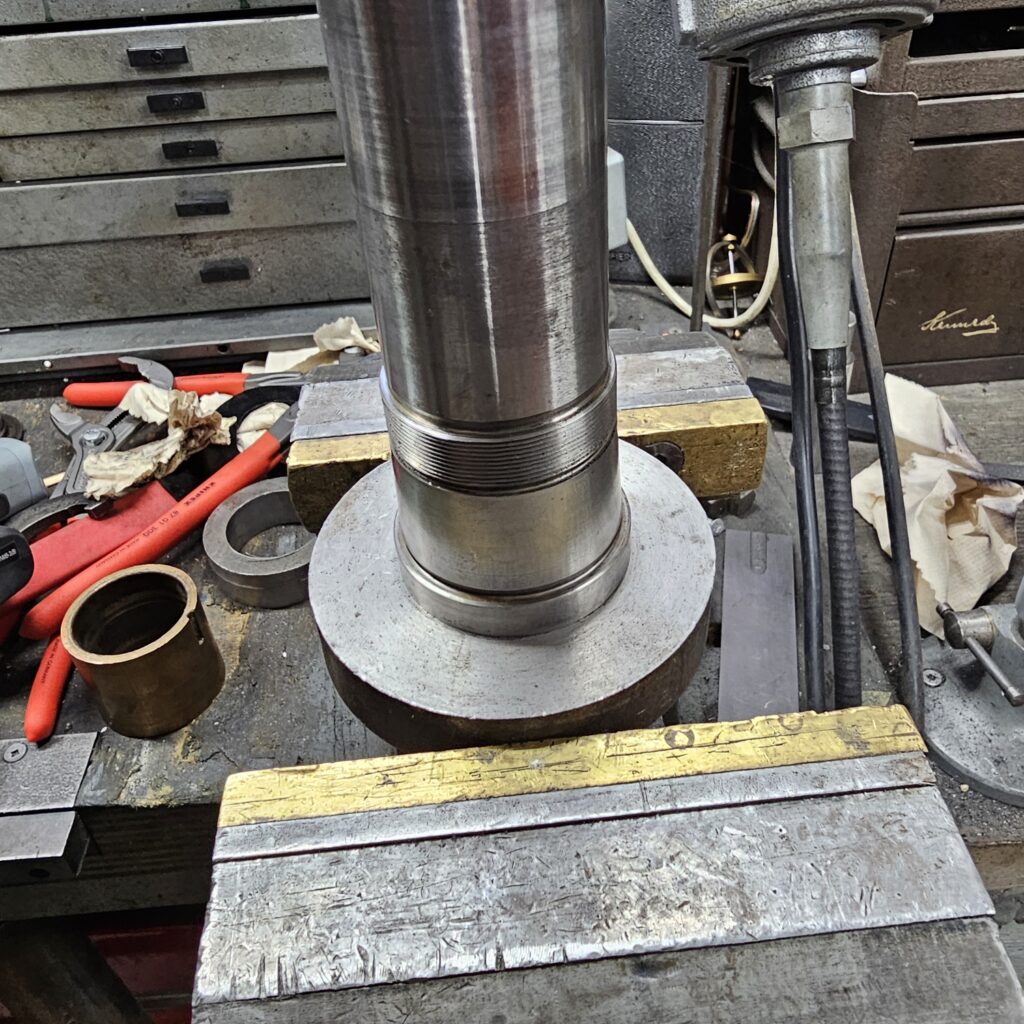
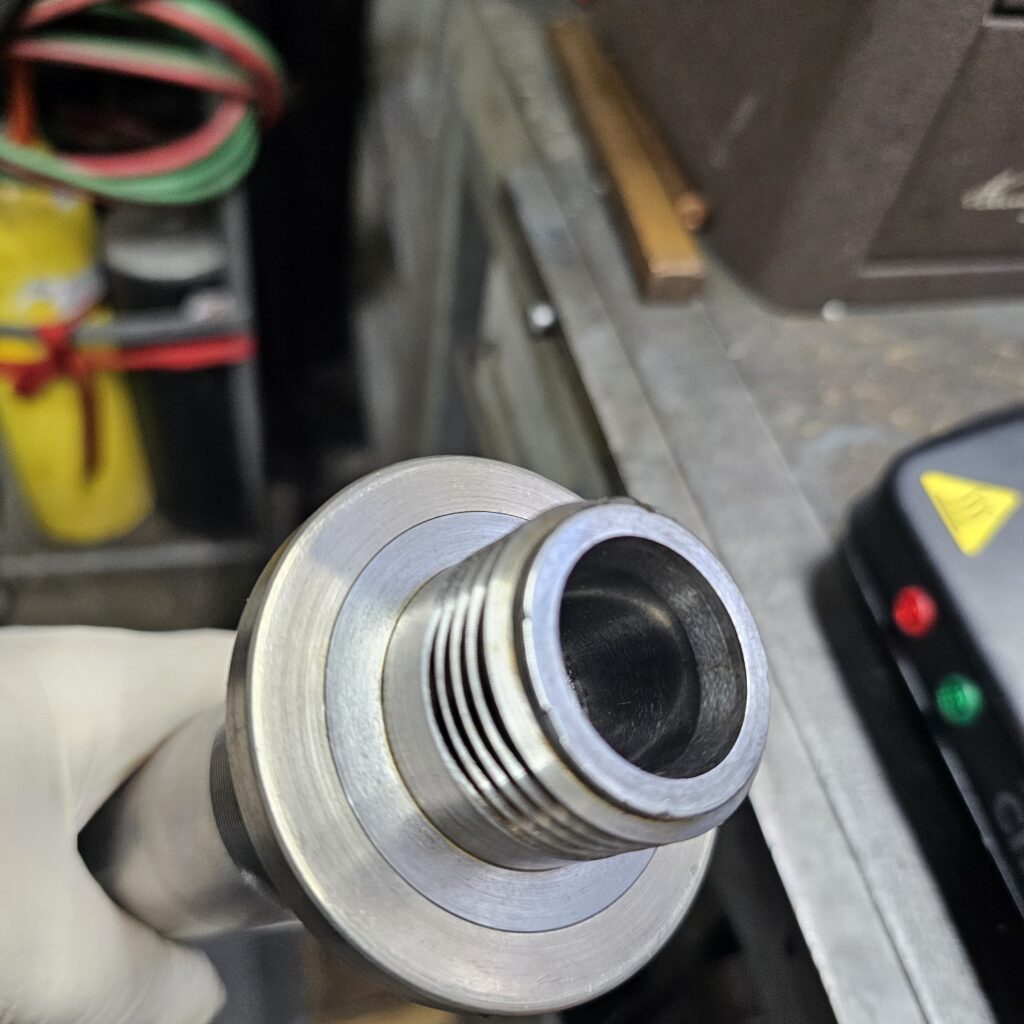
Next we’ll install the bearing with the same set up
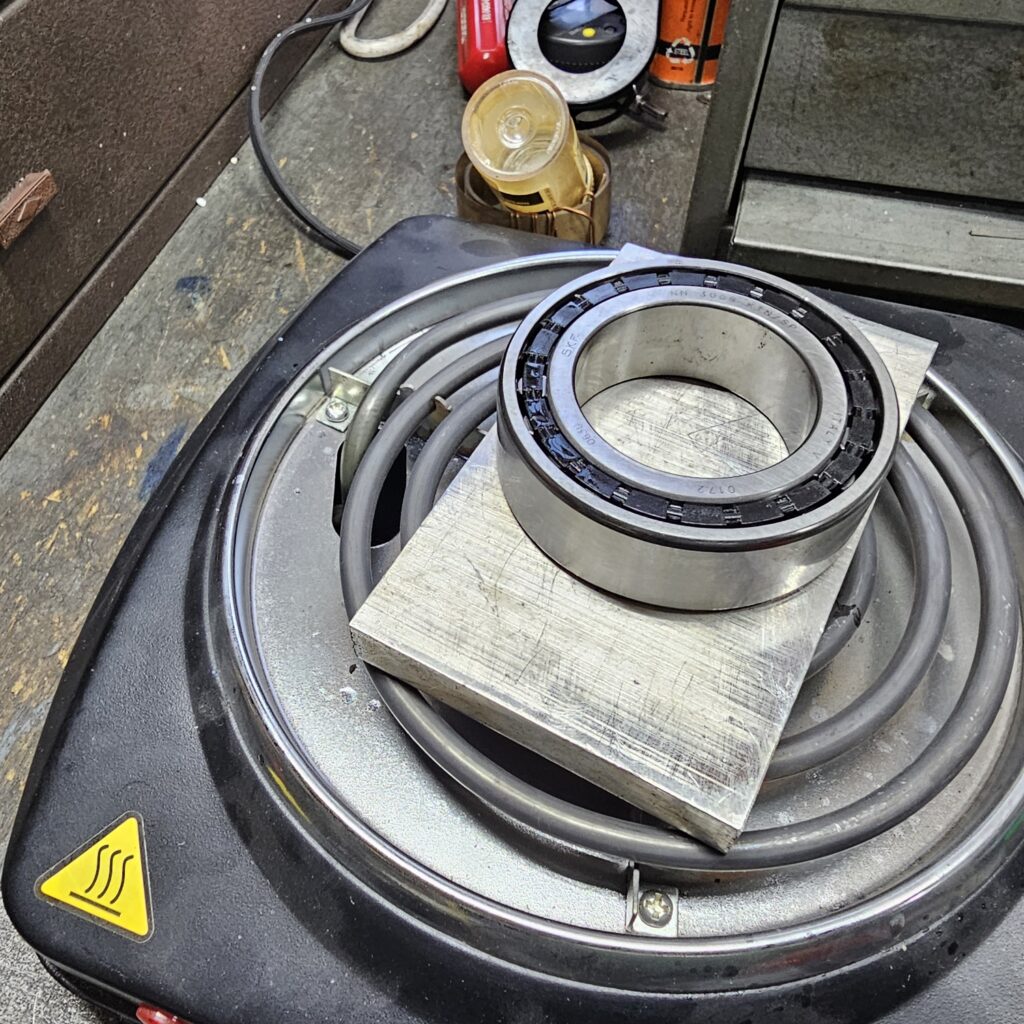
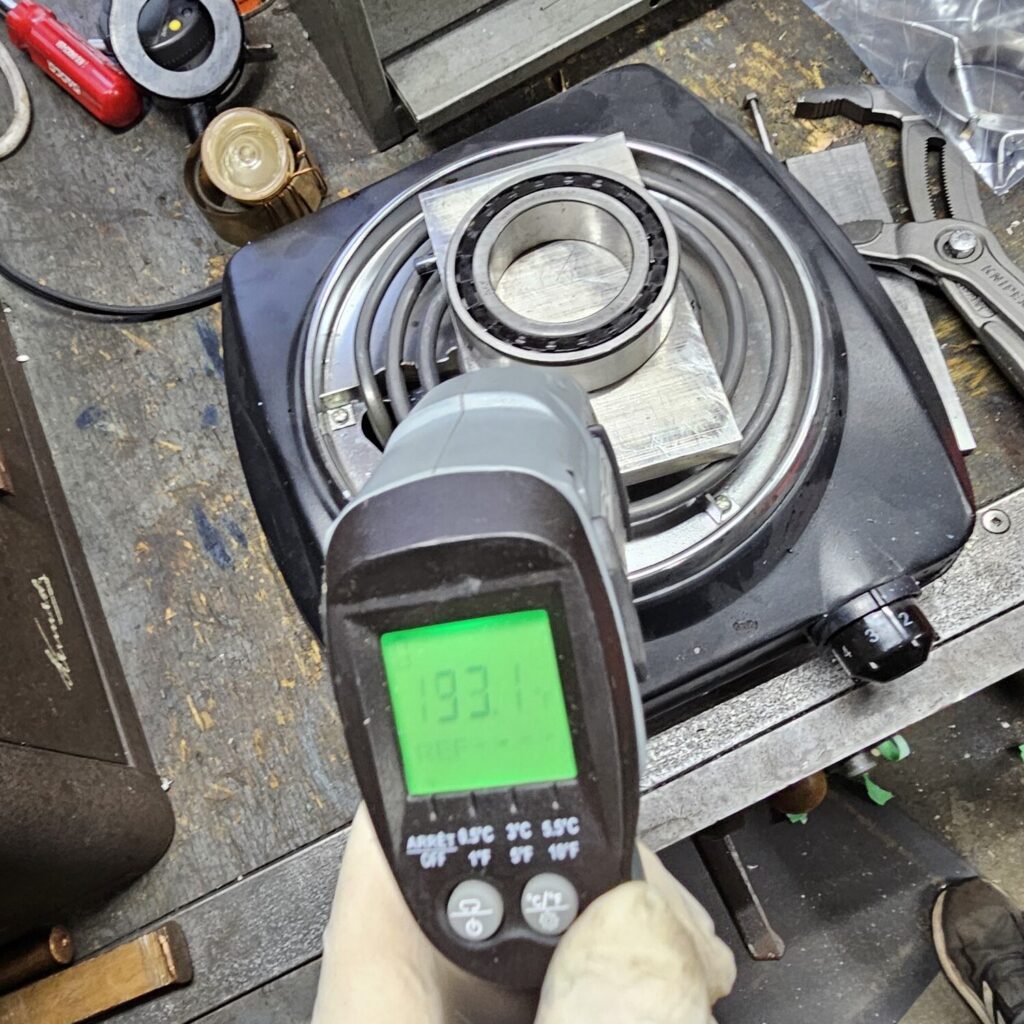
I kept a watchful eye on the temperature and kept it under 200F which was more than enough. You don’t want to get anywhere near a temp that would affect the temper (or melt the stupid plastic cage!)
These thermometer are not super accurate, but are accurate enough
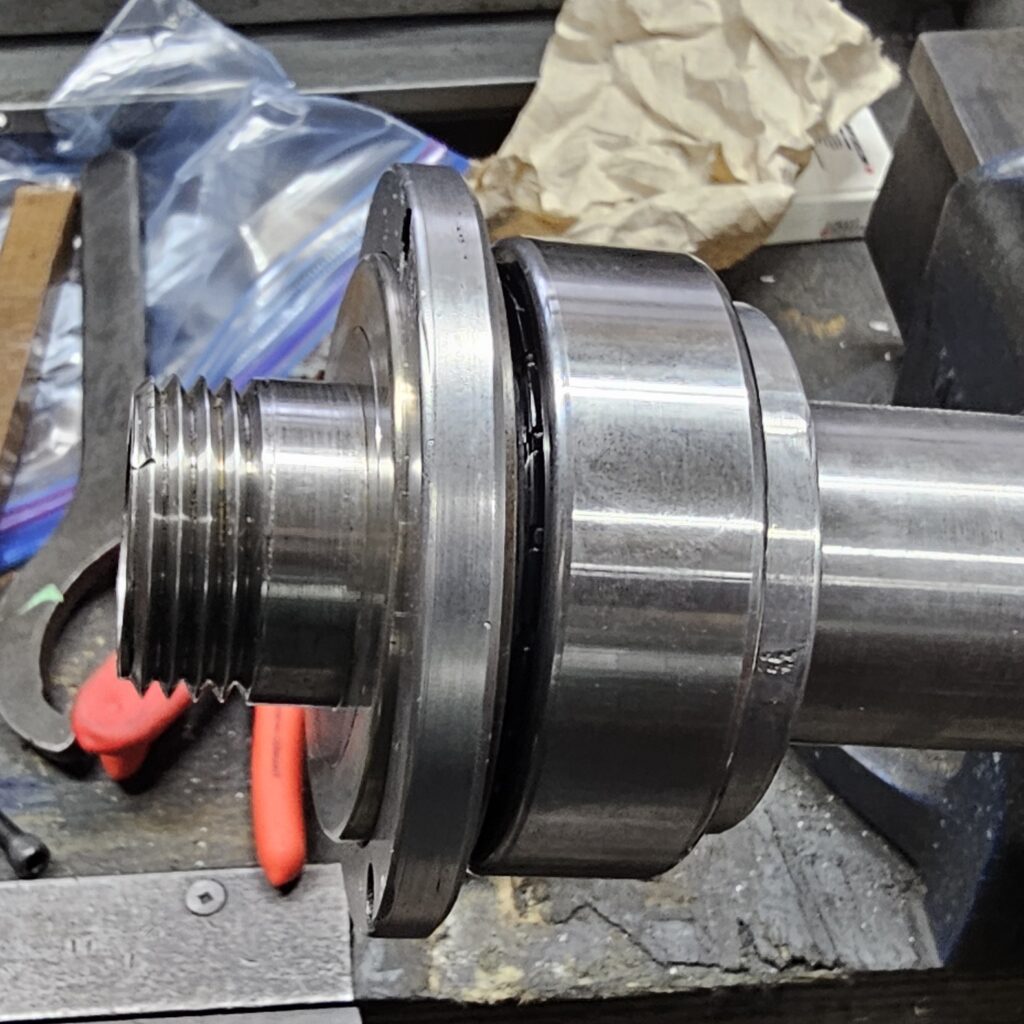
On with the nut and the tricky part is done!
The bearing dropped perfectly in place against the spacer
I decided to paint the HS. (I often don’t, paint adds zero to the machine’s performance, but the Schaublins are pretty enough to warrant it.
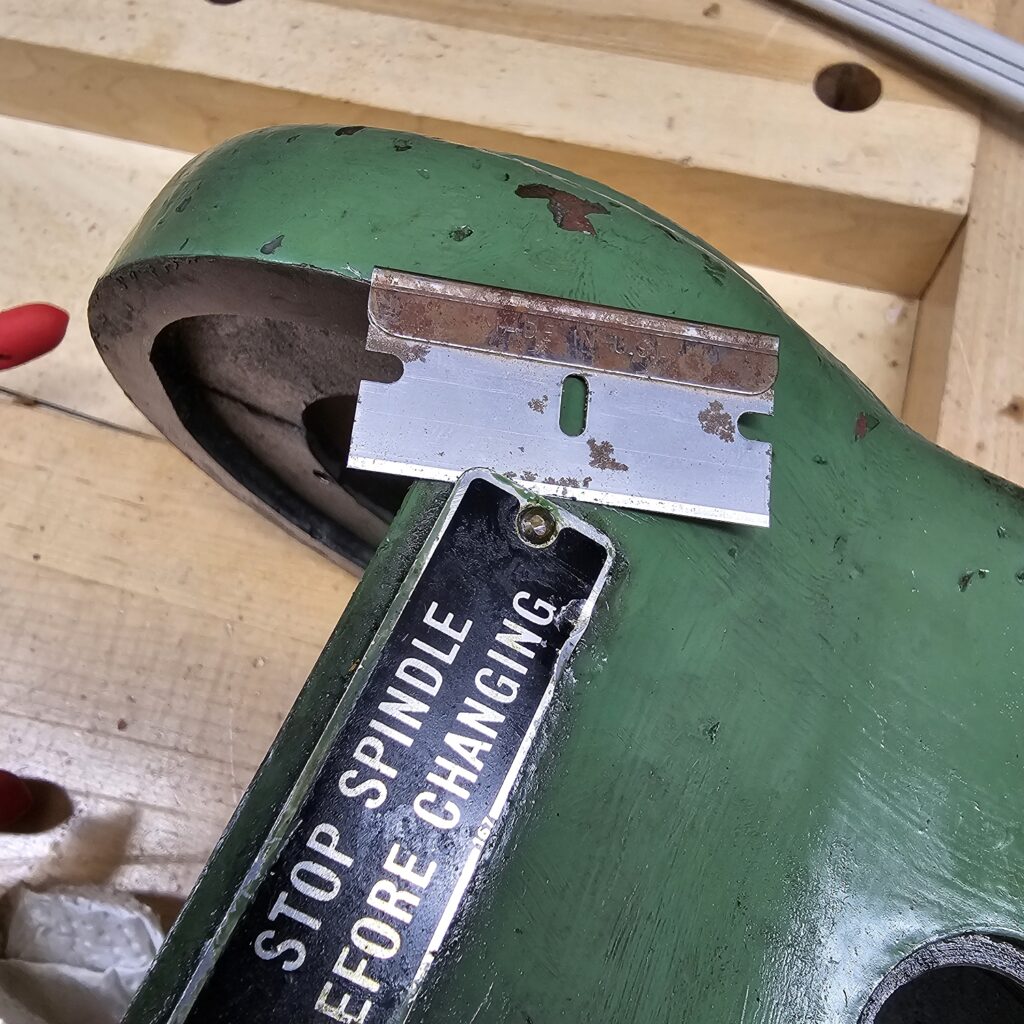
First job is to remove this label. One way to remove badge pins, twist pins, escutcheon pins or whatever you want to all them. Get under it with a blade
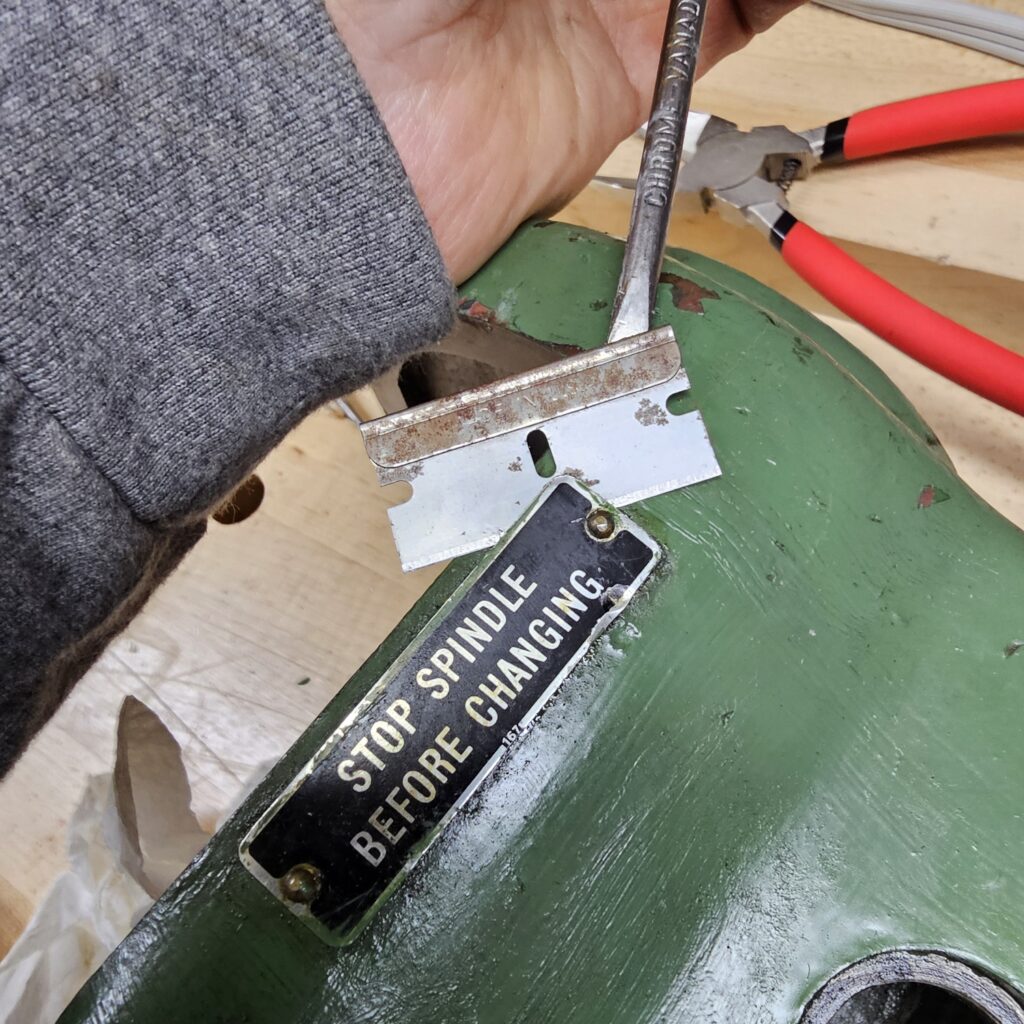
Work around and start to apply a bit of prying pressure with a screw driver
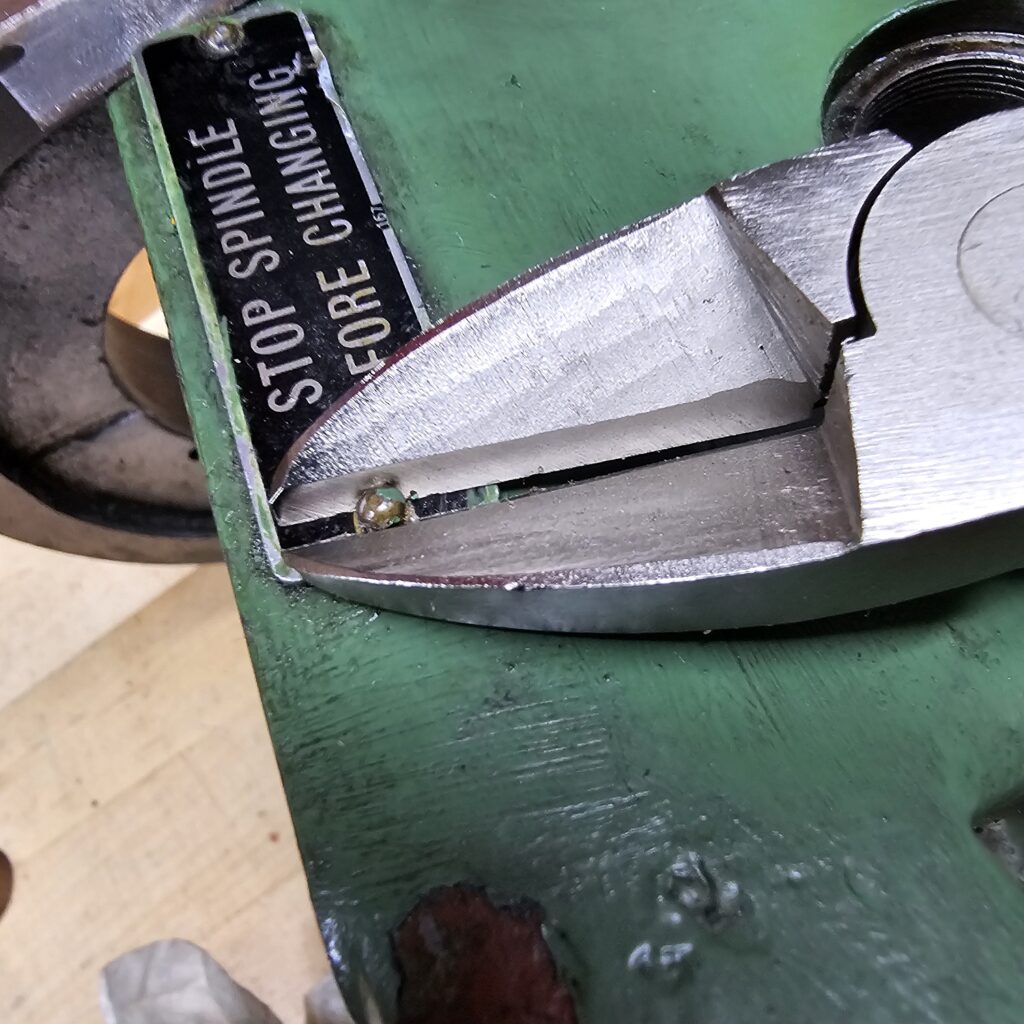
Eventually you can get the pin with sonme flush cutters
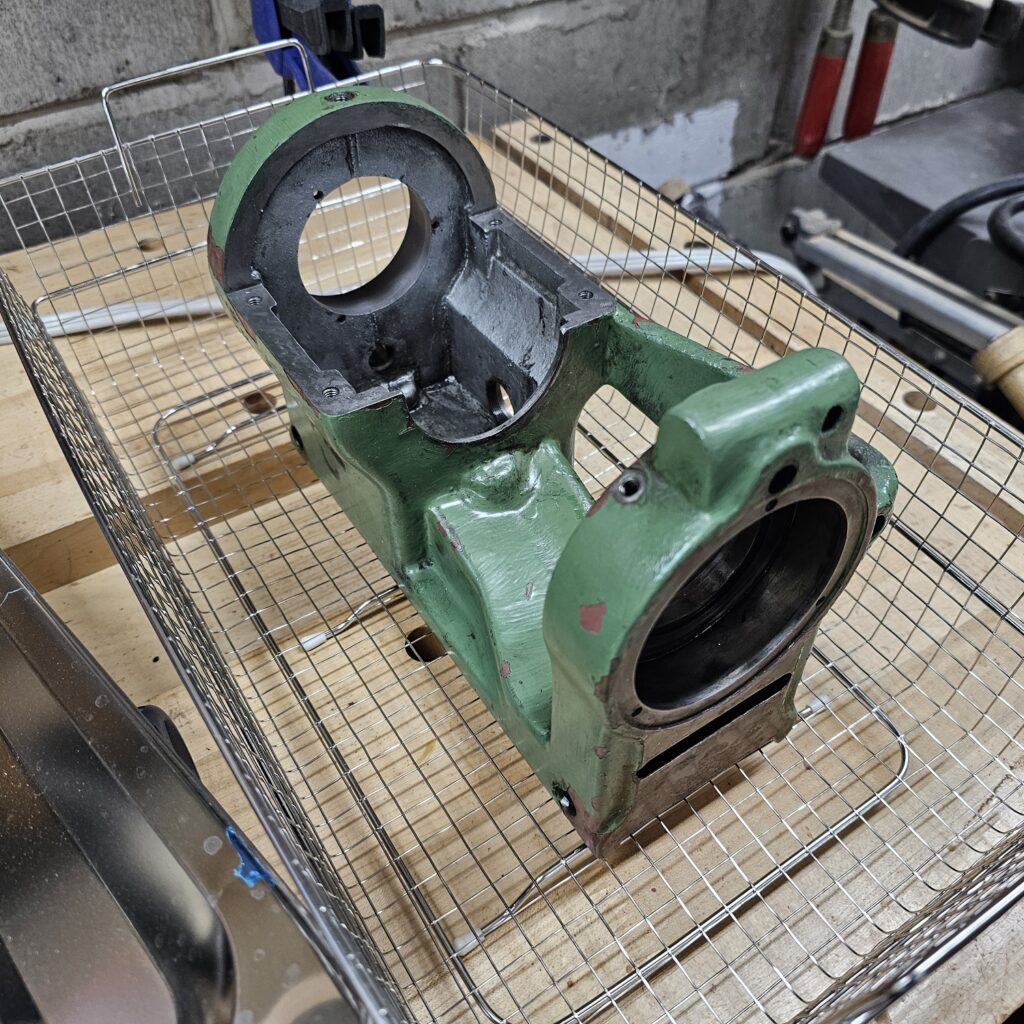
This ultrasonic cleaner is massive! (30l). Here’s the basket sitting a laundry tub
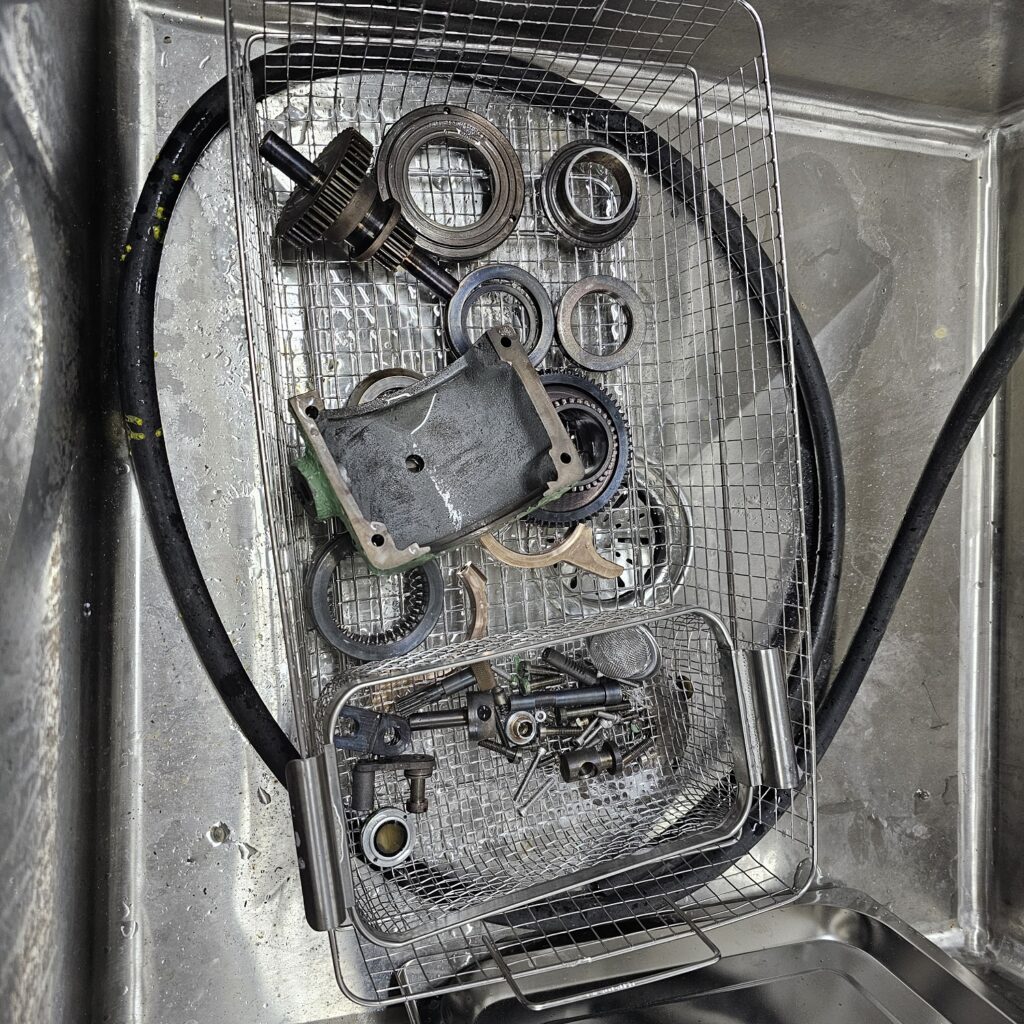
I used some pinesol in the ultrasonic cleaner. I worked will but blued the bright parts. Doesn’t for these parts, but something to keep in mind of you need the parts bright.
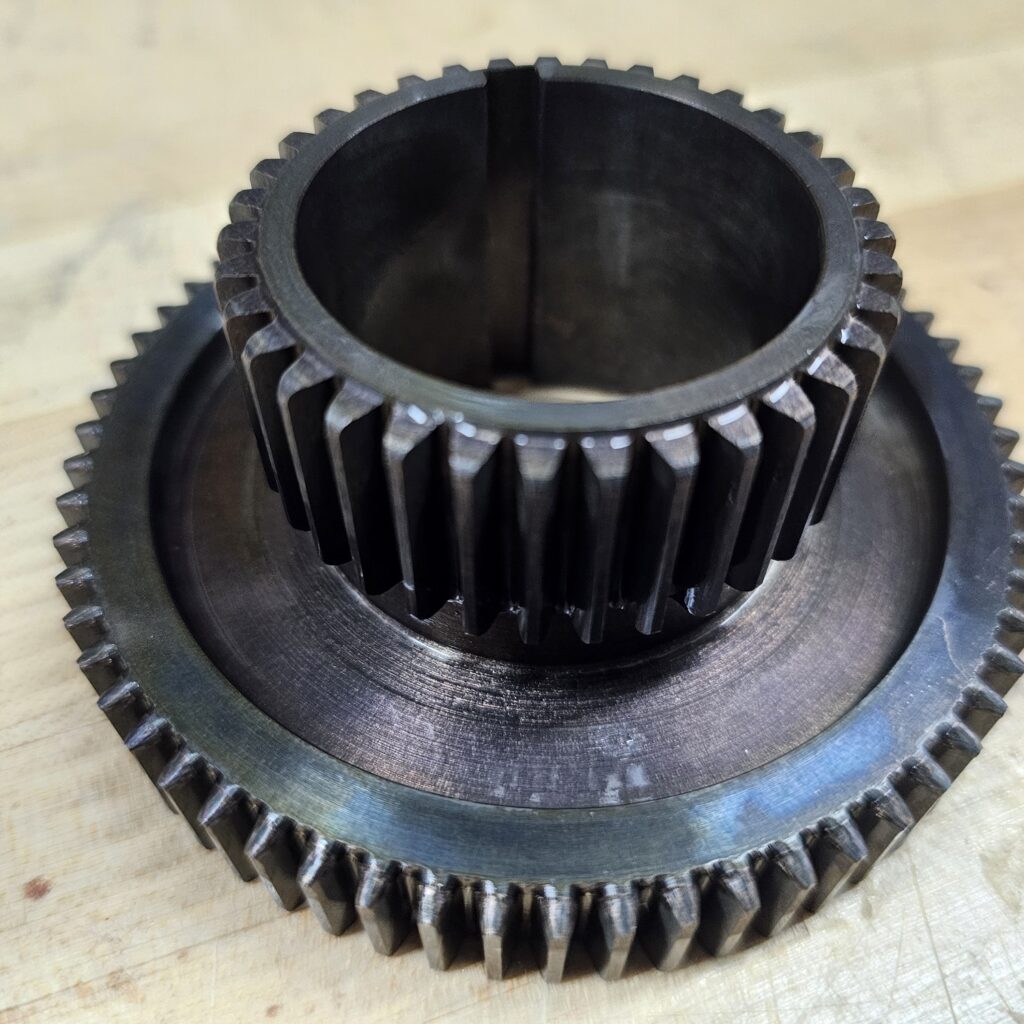
Spot putty and lots of sanding
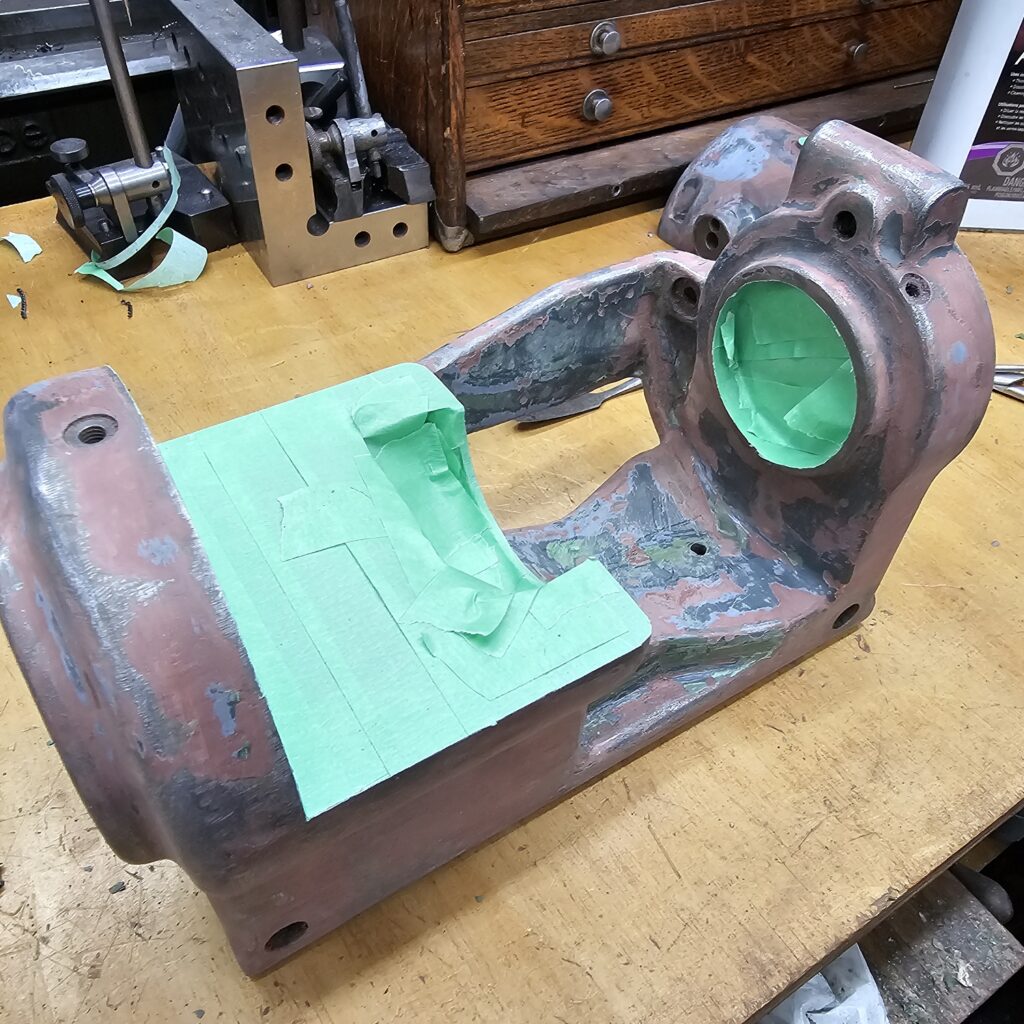
Lots of coats with sanding in between
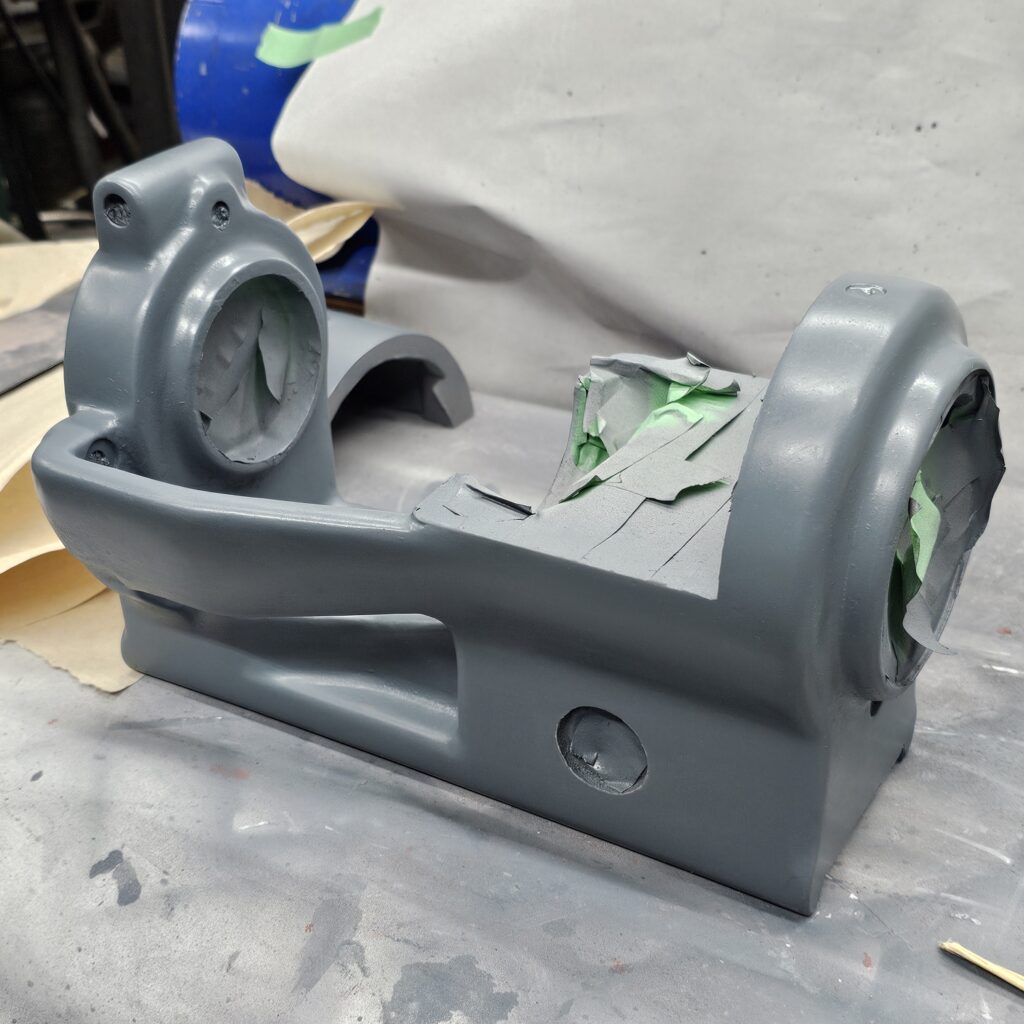
All painted. I sprayed PPG Line 7 RAL 7031 (blue grey) diluted and with soom talk to take away the gloss (personal preference)
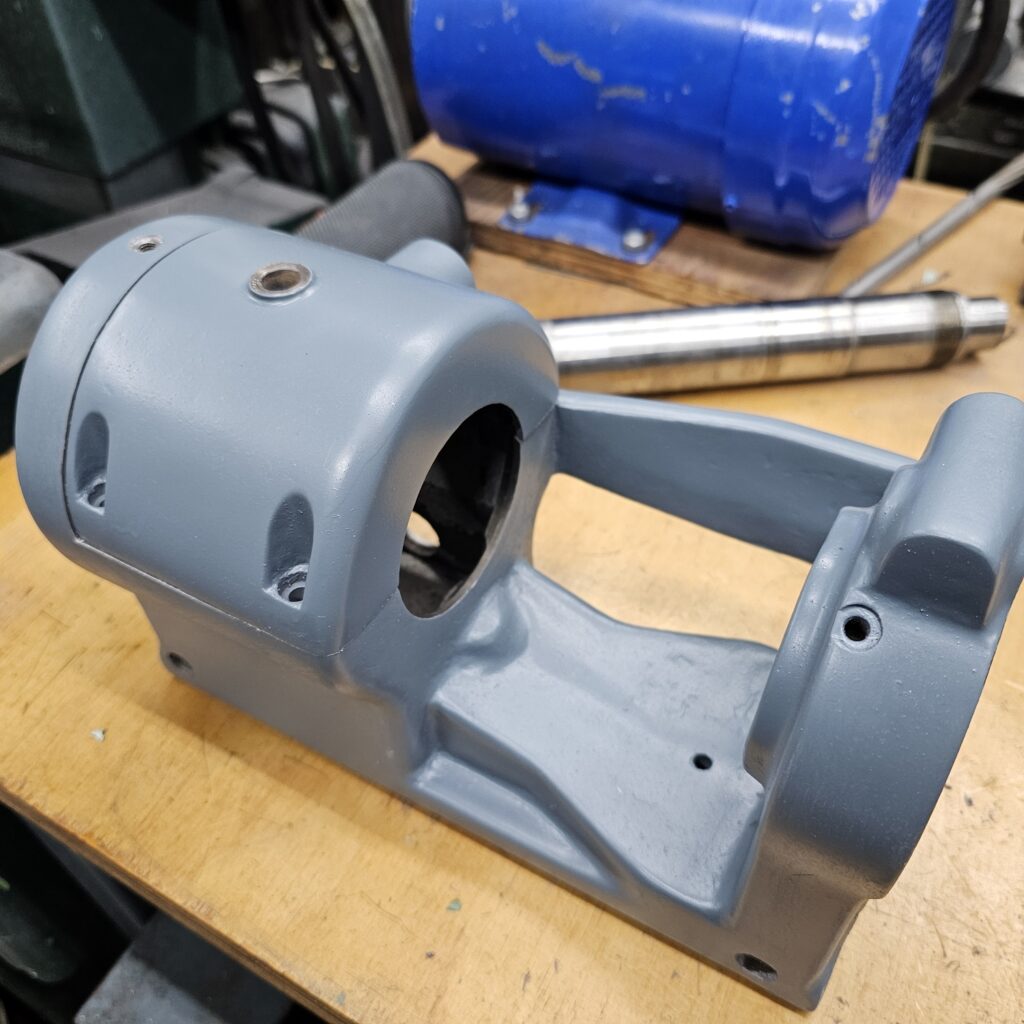
Getting ready for assembly
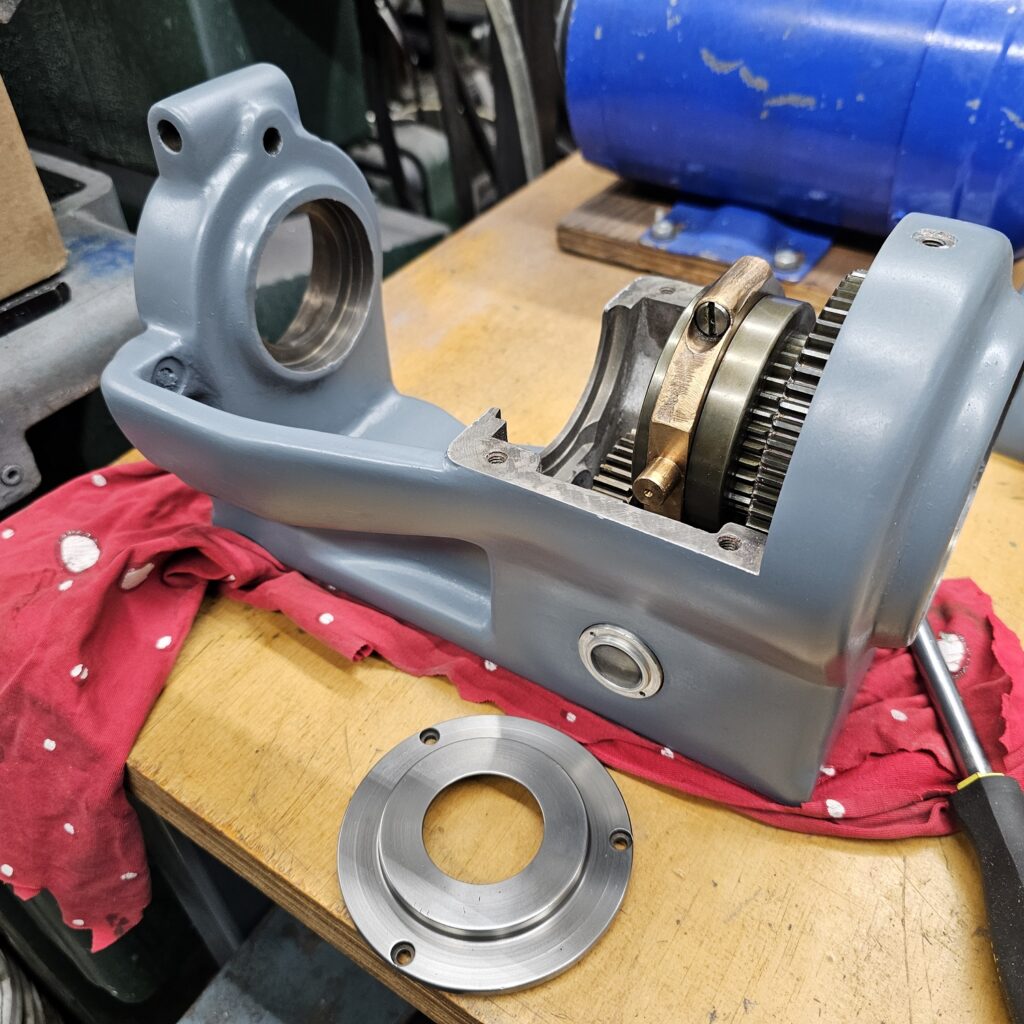
No skimping with a Schaublin! A new SKF P4 AC and thrust bearing were used (an earlier typo missed the shift key and had that as P$. Probably a more meaningful and accurate description lol)
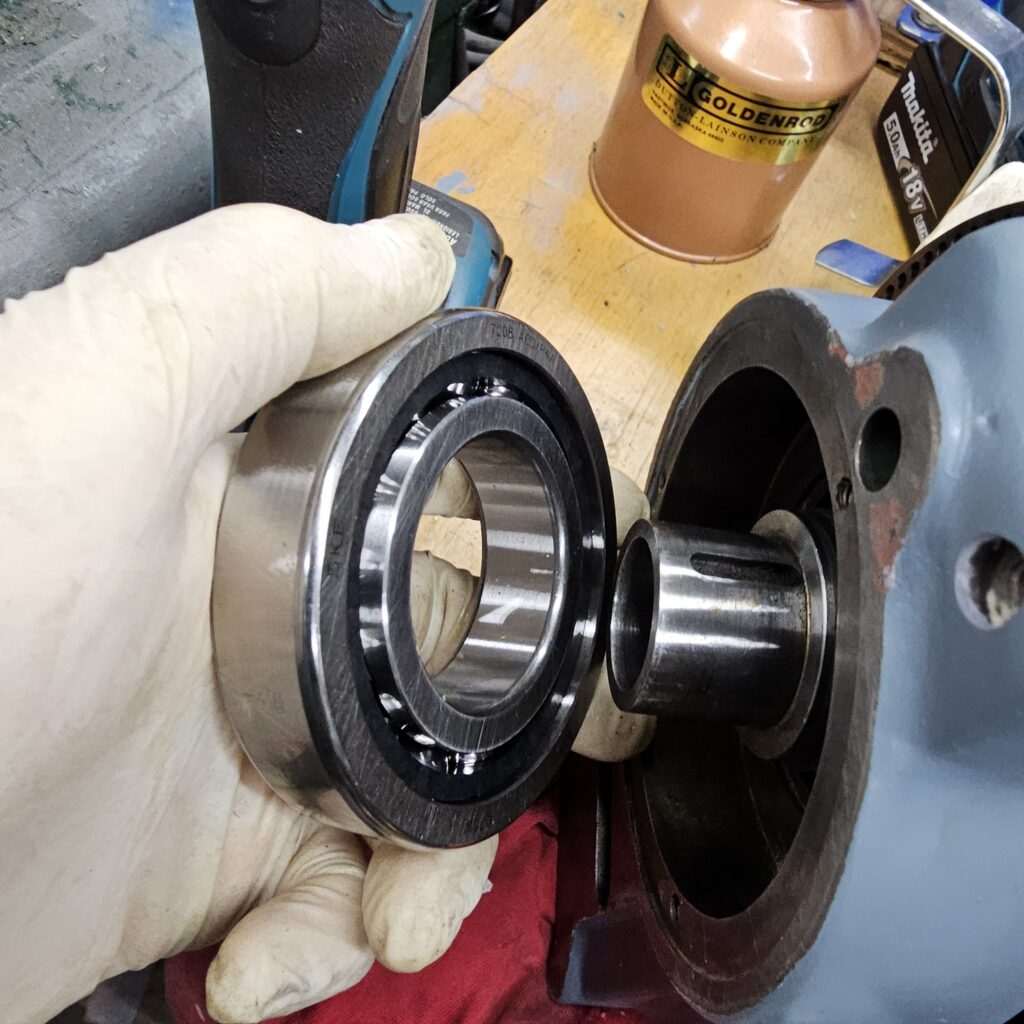
screws are used to gently pull in the outer race
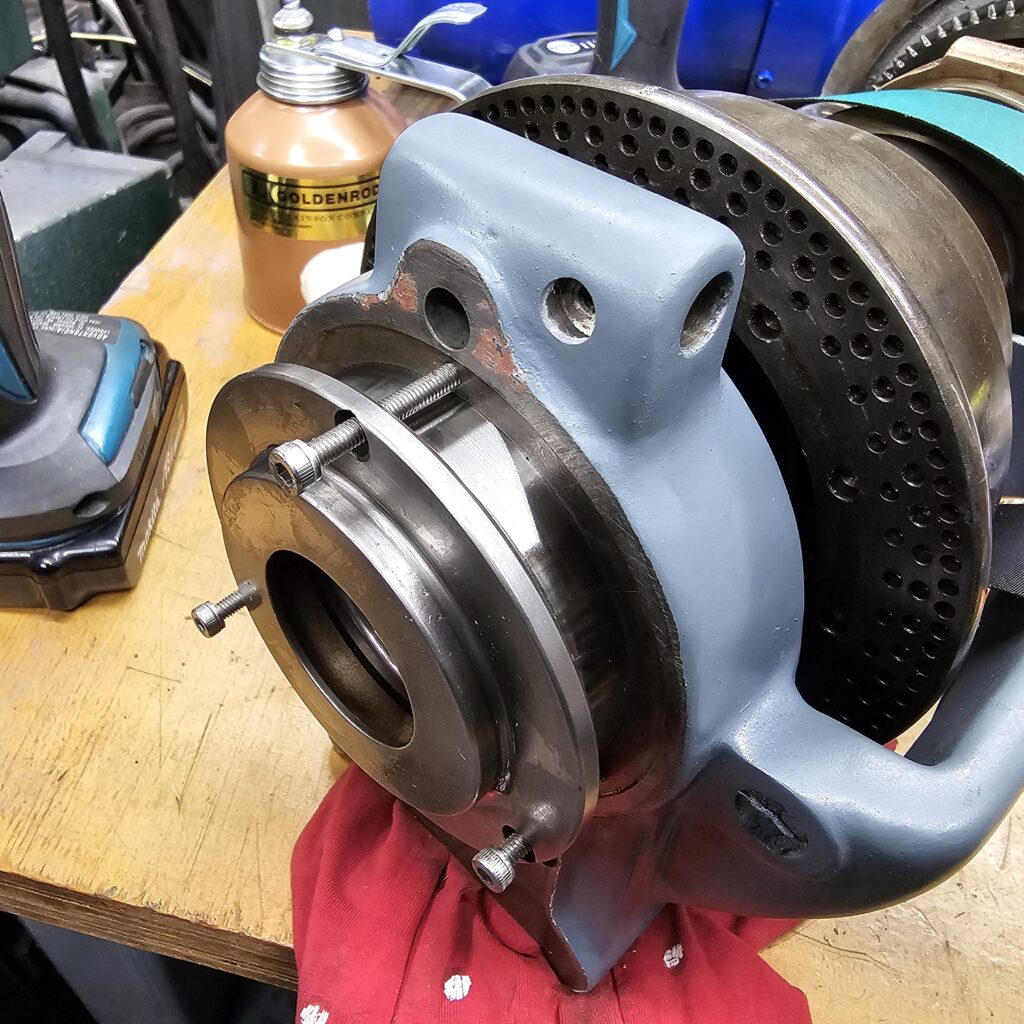
screws are used to gently pull in the outer race
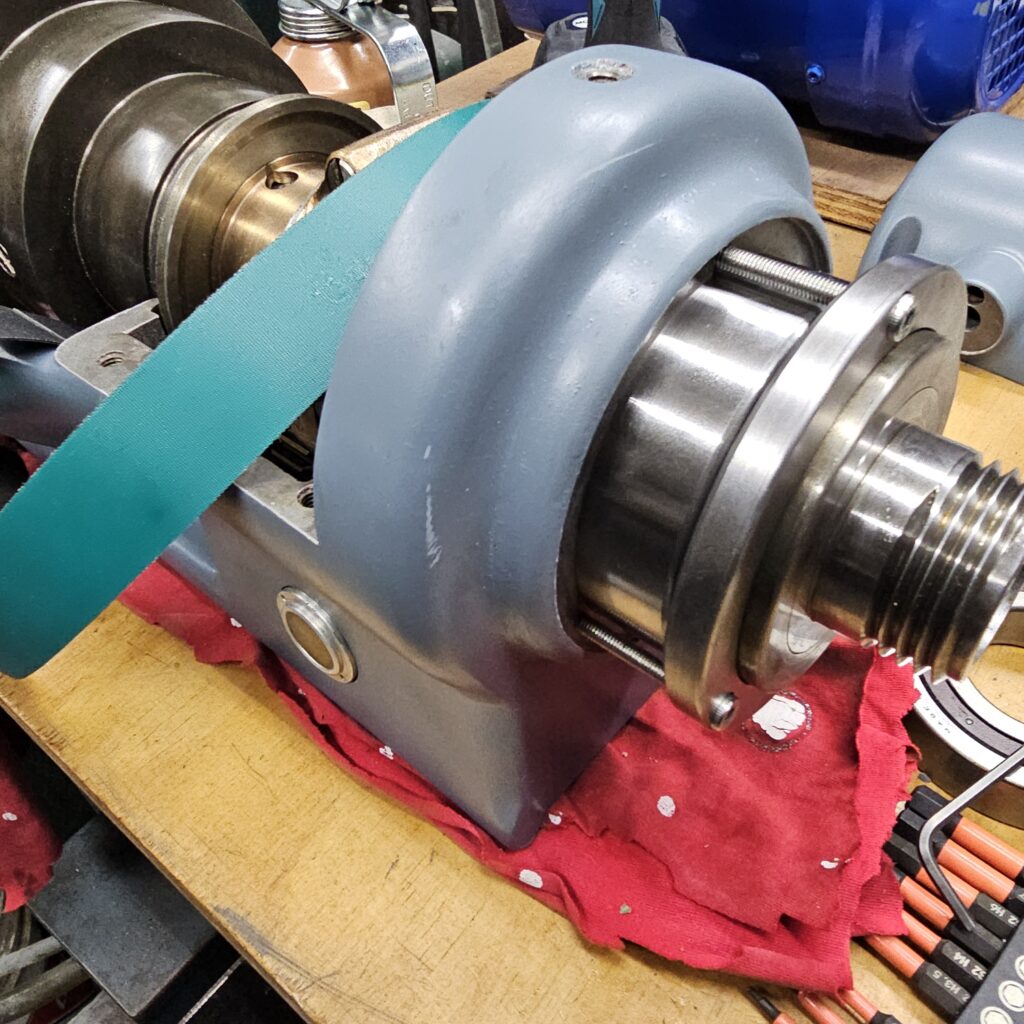
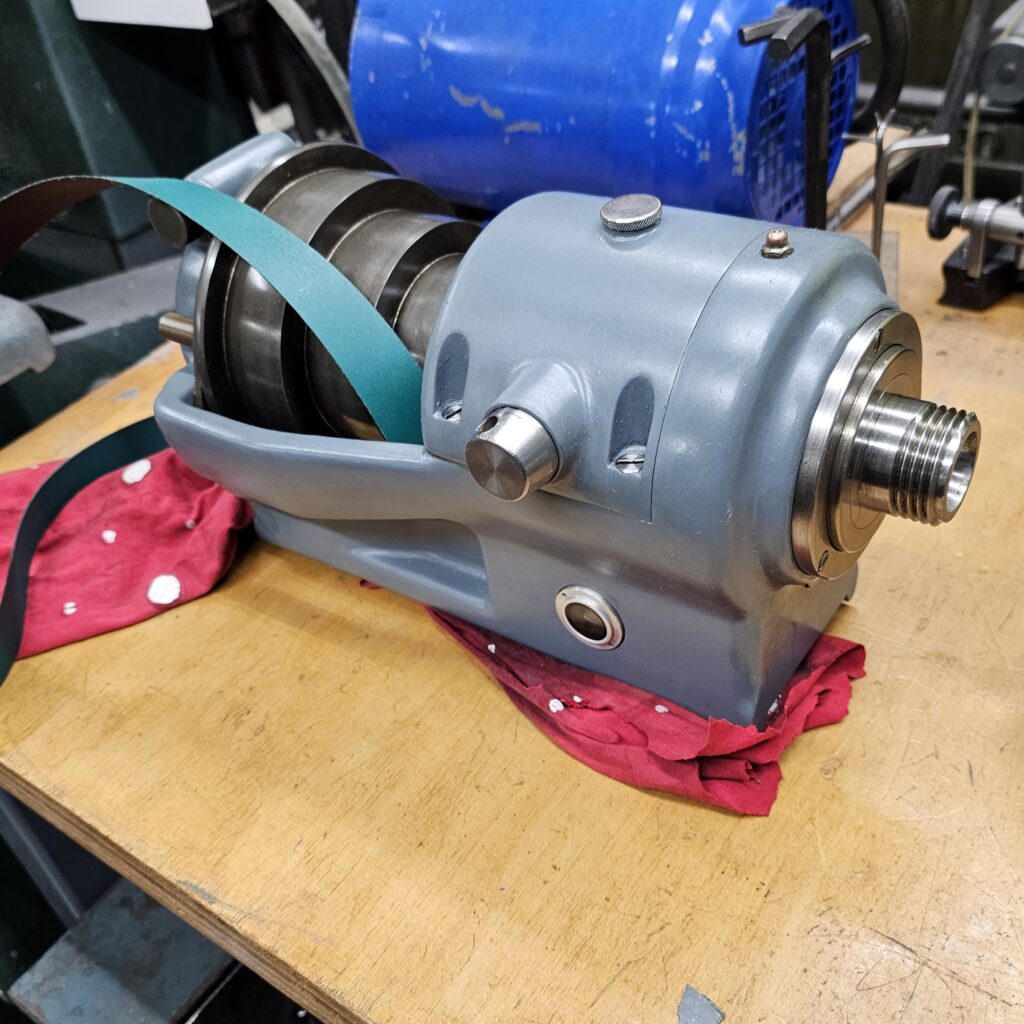
.... and then what happened?
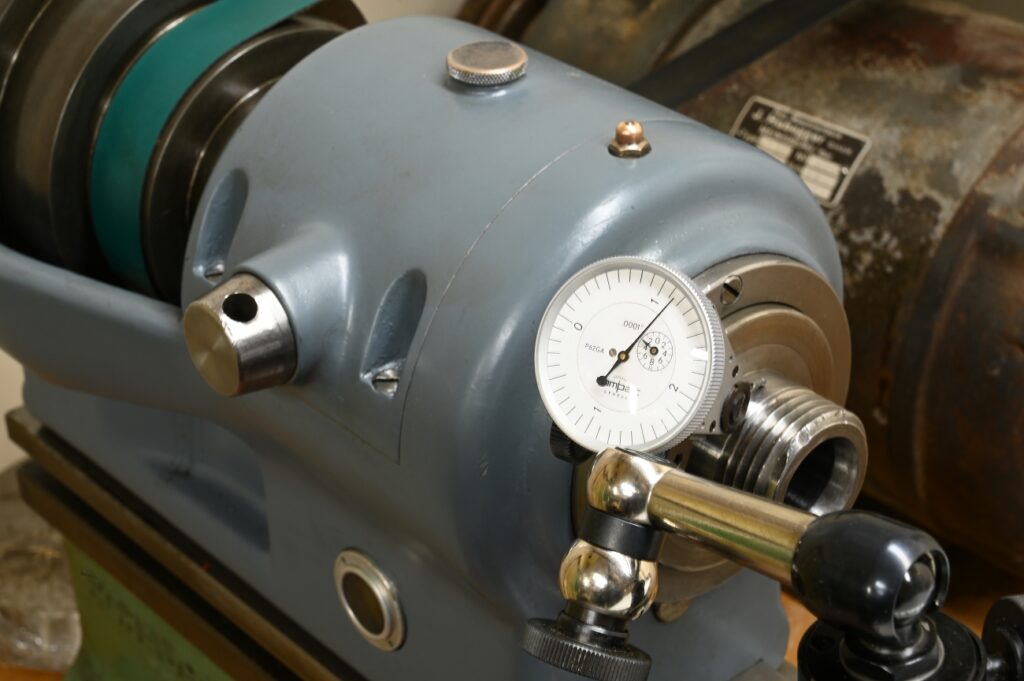
After assembly, I mounted the headstock and indicated the spindle.
Disappointment – By pressing the spindle up and down, I could move it a total of 3 tenths.
No good, that means there is still lots of clearance between the race and rollers. That will lead to early failure and inaccurate turning.
This is why fitting these is so critical. To tight (preload) and you wreck the bearings, too loose (clearance) and you’ll wreck the bearings
How to recover
I don’t know where I made the error, somewhere in measurement or calculating?
But those 3 tenths had to go!
I used this Compaq indicator. While lots of indicators read in tenths, accuracy of reading depends not just what the graduation lines are, but how far apart they are. This one is one of the best, easily allow for sub tenth interpolations

Re-do the numbers
After several measurements, I concluded there was dead on 3 tenths slop in the bearing.
I re-ran the calculations with the clearance at .0003″ and the formula suggested the spacer need be .0056″ thinner.
Everything apart, I remade the spacer (stupid grinding mistake, some contaminate wrecked my attempt to take 5.6″ off the original)

A slight change in assembly
I do not like the plastic cage in these bearings and notice some slight heat distortion of cage.
I only heated to 200F this time, also knowing those infrared guns are not very accurate.
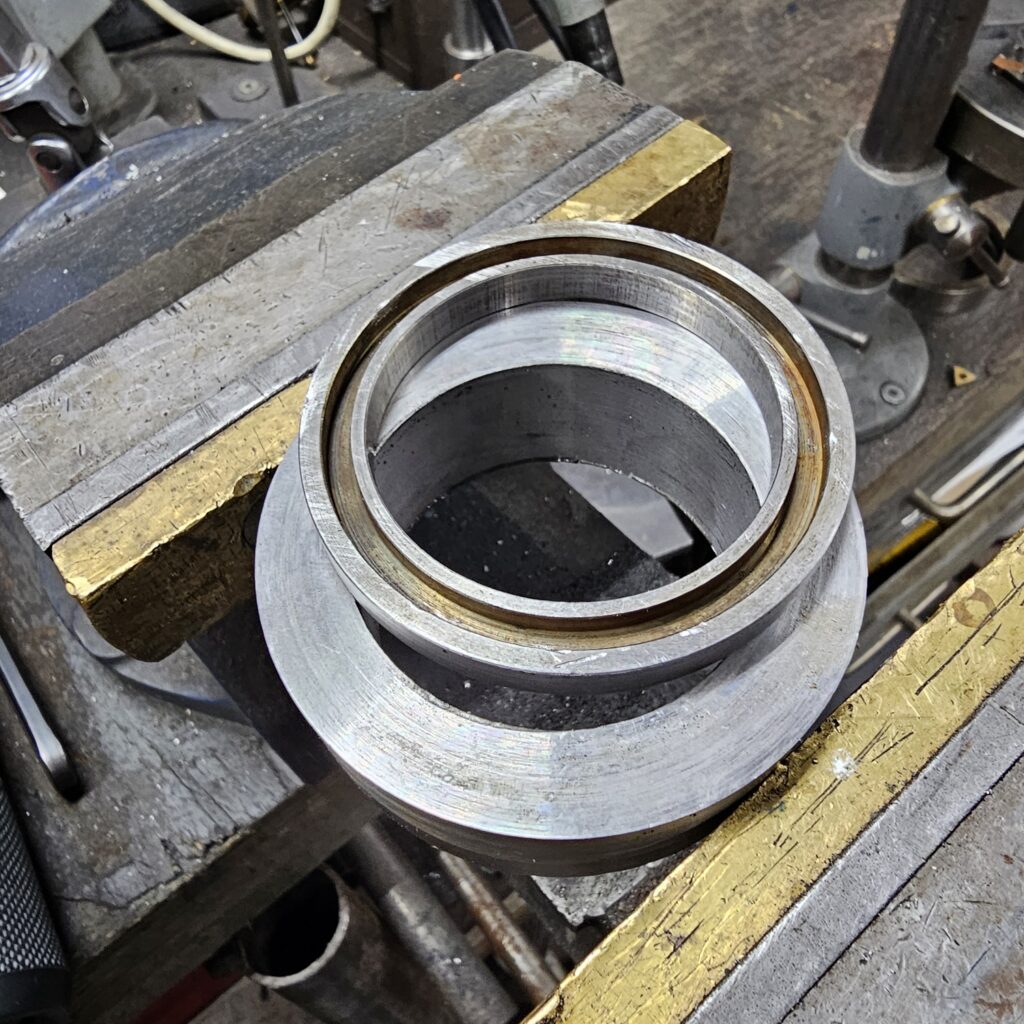
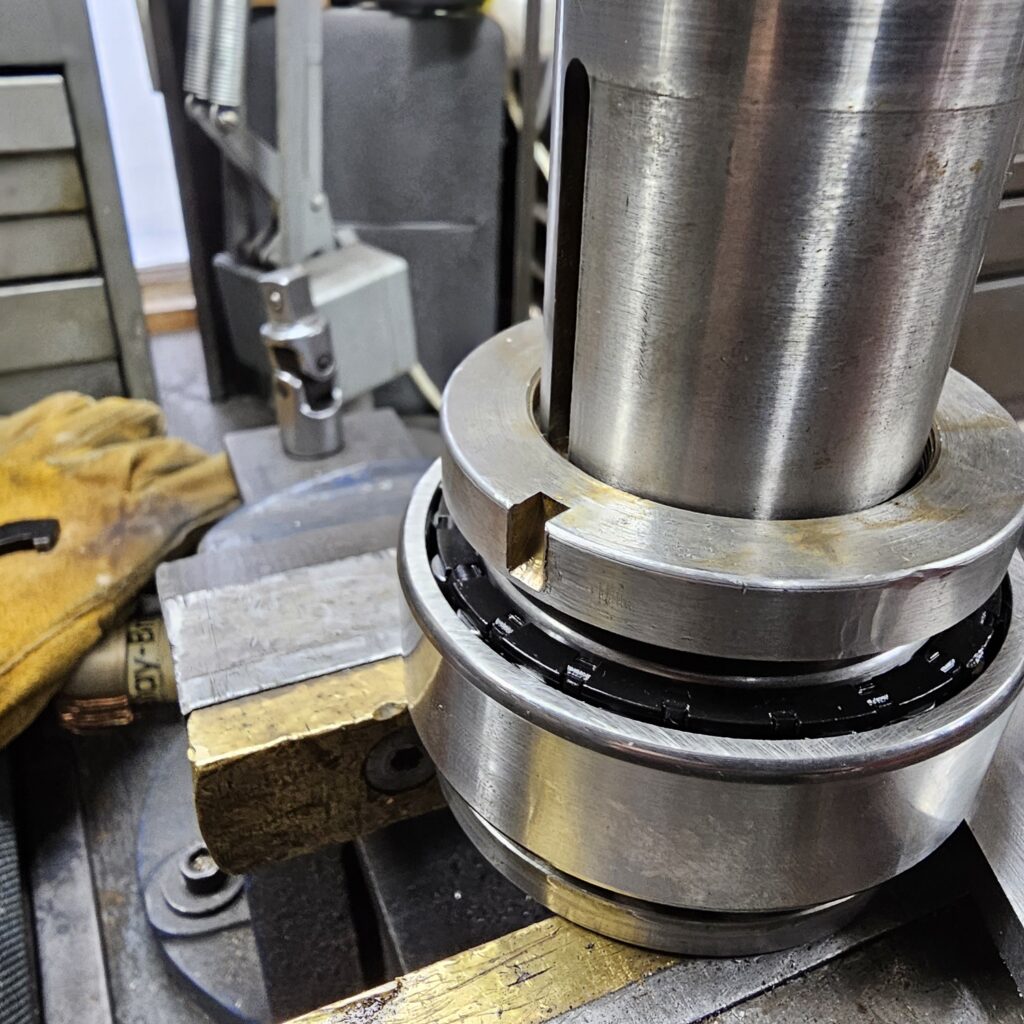
To ensure a good seating, i faced an old bronze bushing, placed it against the inner race and used a piece if steel tubing as a drop hammer.
Not as shade tree as might sound, it along with are heat are noted as possible assembly techniques. and it worked.
Success!